
目录
一、安装FastDFS
1、安装c语言环境
[root@localhost ~]# yum -y install gcc2、上传所需要的文件
[root@localhost ~]# cd /usr/uplocad
[root@localhost upload]# rz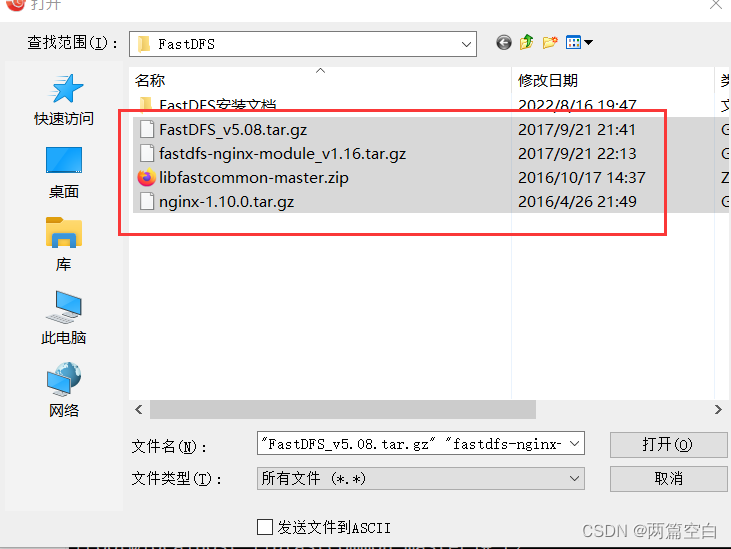
3、安装c函数库
[root@localhost upload]# unzip libfastcommon-master.zip
[root@localhost upload]#  cd libfastcommon-master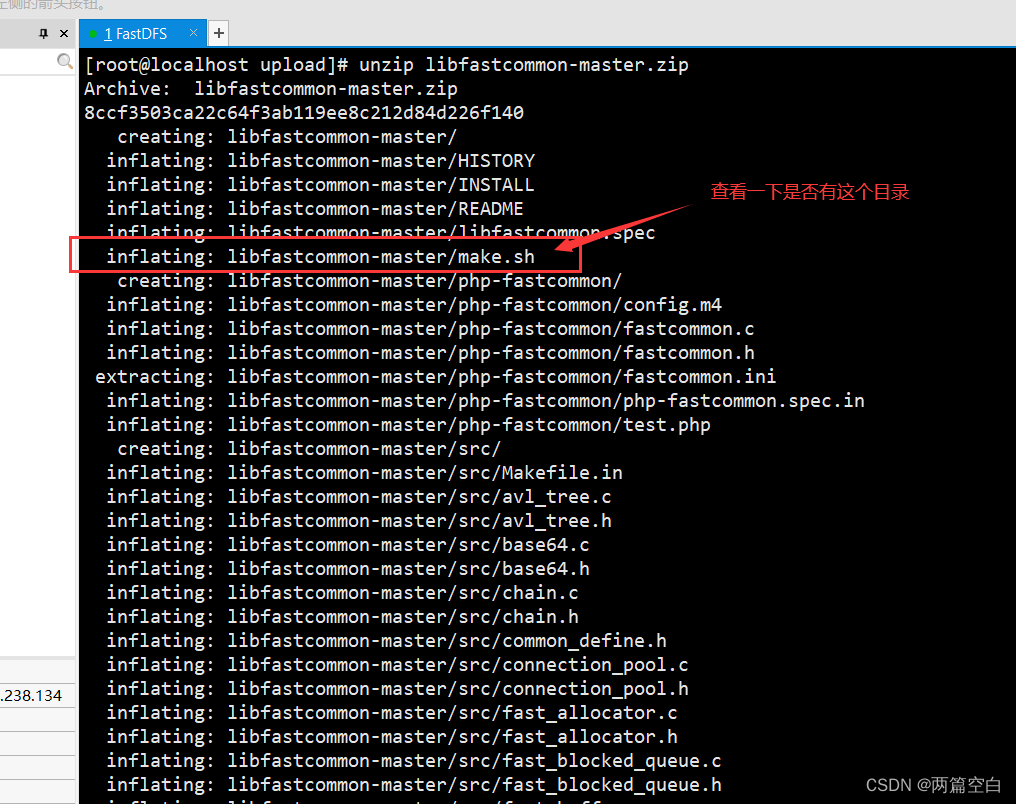
[root@localhost libfastcommon-master]# ./make.sh             #编译
[root@localhost libfastcommon-master]#  ./make.sh install    #安装
4、安装FastDFS
[root@localhost libfastcommon-master]# cd ..
[root@localhost upload]# tar -zxvf FastDFS_v5.08.tar.gz
[root@localhost upload]# cd FastDFS
[root@localhost FastDFS]#  ./make.sh           #编译
[root@localhost FastDFS]#  ./make.sh install   #安装
1.安装过后查看是否安装成功
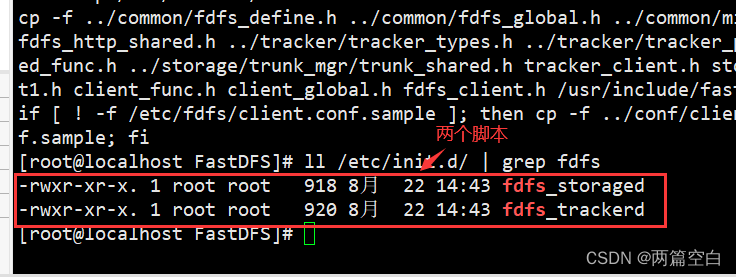
查看是否有以下这两个脚本:
fdfs_trackerd 是tracker启动脚本
fdfs_storaged是storage启动脚本
[root@localhost FastDFS]# ll /etc/init.d/ | grep fdfs
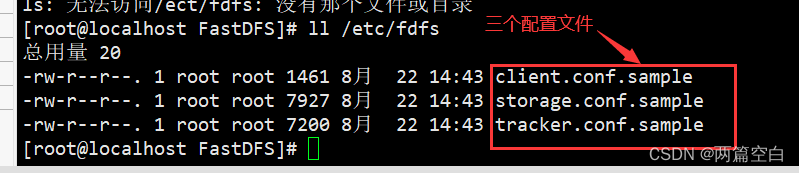
查看是否有以下这三个配置文件:
tarcker.conf.sample是tracker的配置文件模板
storage.conf.sample是storage的配置文件模板
client.conf.sample是客户端的配置文件模板
[root@localhost FastDFS]# ll /etc/fdfs
这里之所以把两个服务都配置到一台服务器,是因为资源有限。
5、配置并启动tracker服务
1.配置修改文件
首先将模板文件复制 ,留作备份
[root@localhost FastDFS]# cp /etc/fdfs/tracker.conf.sample /etc/fdfs/tracker.conf修改复制后的配置文件:
[root@localhost FastDFS]# vim /etc/fdfs/tracker.conf下图中圈中的位置是指: 存储日志和数据的根目录
我这里是根据自己的需求修改为自己的目录
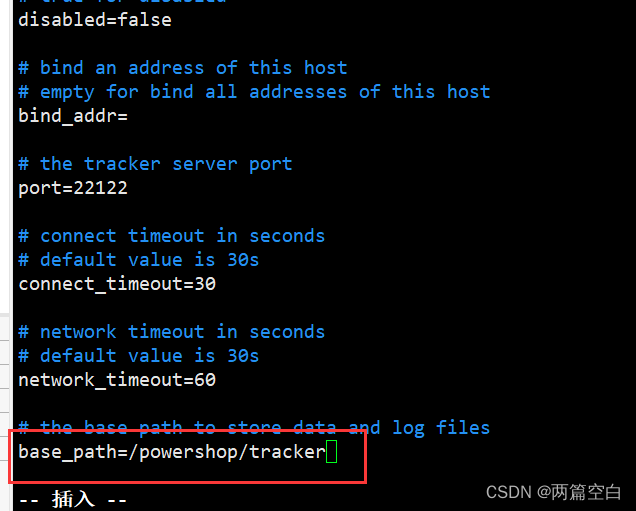
创建目录,此目录为上图中路径中的目录路径,目录命名可以自己决定
[root@localhost FastDFS]# mkdir -p /powershop/tracker
注意:关闭防火墙(我这里已经关闭过了)
chkconfig iptables off
2.启动
启动fdfs_trackerd脚本
[root@localhost FastDFS]# service fdfs_trackerd start #启动fdfs_trackerd服务,停止用stop检查FastDFS Tracker Server是否启动成功
[root@localhost FastDFS]# ps -ef | grep fdfs_trackerd

设置tracker服务开机启动
[root@localhost FastDFS]# chkconfig fdfs_trackerd on6、配置并启动storage服务
1.配置修改文件
首先将模板文件复制 ,留一个备份
[root@localhost FastDFS]# cp /etc/fdfs/storage.conf.sample /etc/fdfs/storage.conf
修改复制后的配置文件
[root@localhost FastDFS]# vim /etc/fdfs/storage.conf
base_path=/powershop/storage # 日志文件存储根目录
store_path0=/powershop/storage # 文件存储目录
tracker_server=192.168.238.134:22122 # tracker服务器IP和端口
新建目录
[root@localhost FastDFS]# mkdir -p /powershop/storage
2.启动
启动fdfs_storaged脚本
[root@localhost FastDFS]# service fdfs_storaged start #启动fdfs_storaged服务,停止用stop
检查FastDFS Tracker Server是否启动成功
[root@localhost FastDFS]# ps -ef | grep fdfs

设置storage服务开机启动
[root@localhost FastDFS]# chkconfig fdfs_storaged on二、使用nginx访问FastDFS
1、为什么需要用Nginx访问
FastDFS通过Tracker服务器,将文件放在Storage服务器存储,但是同组存储服务器之间需要进入文件复制,有同步延迟的问题。
假设Tracker服务器将文件上传到了192.168.4.125,上传成功后文件ID已经返回给客户端。此时FastDFS存储集群机制会将这个文件同步到同组存储192.168.4.126,在文件还没有复制完成的情况下,客户端如果用这个文件ID在192.168.4.126上取文件,就会出现文件无法访问的错误。
而fastdfs-nginx-module可以重定向文件连接到文件上传时的源服务器取文件,避免客户端由于复制延迟导致的文件无法访问错误
三、安装fastdfs-nginx-module插件
1、解压
[root@localhost FastDFS]# cd /usr/upload
[root@localhost upload]#  tar -zxvf fastdfs-nginx-module_v1.16.tar.gz
2、修改config
进入src目录
[root@localhost upload]# cd fastdfs-nginx-module/src/编辑config
[root@localhost src]# vim config使用以下底行命令
:%s+/usr/local/+/usr/+g原文件内容

将所有的/usr/local替换为 /usr,这个才是正确的目录

复制 fastdfs-nginx-module 源码中的配置文件到/etc/fdfs 目录, 并修改
[root@localhost src]# cp /usr/upload/fastdfs-nginx-module/src/mod_fastdfs.conf /etc/fdfs/
[root@localhost src]#  vim /etc/fdfs/mod_fastdfs.conf
原内容

![]()

修改以下内容
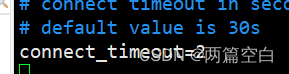
connect_timeout=10
tracker_server=192.168.238.134:22122url_have_group_name = true
store_path0=/powershoporage
复制 FastDFS 的部分配置文件到/etc/fdfs 目录,否则不支持nginx
[root@localhost src]# cd /usr/upload/FastDFS/conf/
[root@localhost conf]# cp http.conf mime.types /etc/fdfs/
四、安装nginx
1、安装nginx
安装nginx的依赖库
[root@localhost conf]# yum -y install gcc pcre pcre-devel zlib zlib-devel openssl openssl-devel解压安装包
[root@localhost conf]# cd /usr/upload
[root@localhost upload]# tar -zxvf nginx-1.10.0.tar.gz
配置nginx安装包,并指定fastdfs-nginx-model
[root@localhost upload]# cd nginx-1.10.0
[root@localhost nginx-1.10.0]# ./configure --prefix=/usr/local/nginx --add-module=/usr/upload/fastdfs-nginx-module/src
注意:在执行./configure配置nginx参数的时候,需要将fastdfs-nginx-moudle源码作为模块编译进去。
编译并安装
[root@localhost nginx-1.10.0]# make && make install2、配置动静分离
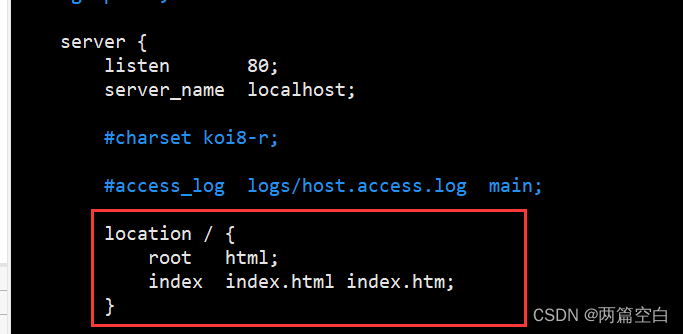
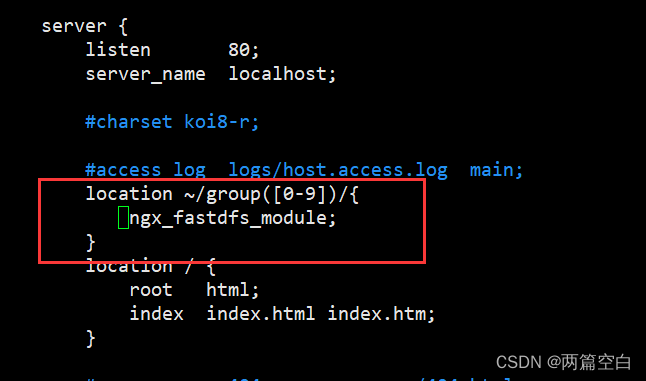
修改nginx配置文件
[root@localhost nginx-1.10.0]# cd /usr/local/nginx
[root@localhost nginx]#  vim /usr/local/nginx/conf/nginx.conf
修改以下内容
添加以下内容
启动nginx ,进行测试
./nginx # 启动nginx
./nginx -s stop # 停止nginx
./nginx -s reload # 重新载入配置文件
3、配置nginx开机自启动
添加nginx.service文件
[root@localhost nginx]# vim /lib/systemd/system/nginx.service:文件内容如下
[Unit]
Description=nginx
After=network.target[Service]
Type=forking
ExecStart=/usr/local/nginx/sbin/nginx
ExecReload=/usr/local/nginx/sbin/nginx -s reload
ExecStop=/usr/local/nginx/sbin/nginx -s quit
PrivateTmp=true[Install]
WantedBy=multi-user.target
设置开机自启
systemctl daemon-reload #重新加载服务配置
systemctl enable nginx.service #设置为开机启动
systemctl start nginx.service #启动服务
systemctl status nginx.service #查看服务状态
systemctl stop nginx.service #停止服务
表示开机启动已经设置成功

版权声明:本文内容由互联网用户自发贡献,该文观点与技术仅代表作者本人。本站仅提供信息存储空间服务,不拥有所有权,不承担相关法律责任。如发现本站有涉嫌侵权/违法违规的内容, 请发送邮件至 dio@foxmail.com 举报,一经查实,本站将立刻删除。