
一、安装Tex Live
Tex Live在清华镜像源平台可以找到,此为清华镜像源链接
下载并安装 texlive 2020.iso 文件
二、安装vs code
三、安装插件
在VSCode 扩展商店安装 LaTeX Workshop 插件,有需要的话可以安装其他latex相关插件。
在 VSCode 界面下按下 F1,然后键入“setjson”,点击“首选项: 打开settings.json”,在其中加入以下内容(注意:这里是加入内容,不是覆盖,要保留之前的内容)
{
  "latex-workshop.latex.recipes": [
    {
      "name": "pdflatex -> bibtex -> pdflatex*2",
      "tools": [
          "pdflatex",
          "bibtex",
          "pdflatex",
          "pdflatex"
      ]
    },

    {
      "name": "xelatex",
      "tools": [
          "xelatex"
      ]
    },

    {
      "name": "latexmk",
      "tools": [
          "latexmk"
      ]
    },
    ],

    "latex-workshop.latex.tools": [{
    "name": "latexmk",
    "command": "latexmk",
    "args": [
      "-synctex=1",
      "-interaction=nonstopmode",
      "-file-line-error",
      "-pdf",
      "%DOC%"
    ]
    }, {
    "name": "xelatex",
    "command": "xelatex",
    "args": [
      "-synctex=1",
      "-interaction=nonstopmode",
      "-file-line-error",
      "%DOC%"
    ]
    }, {
    "name": "pdflatex",
    "command": "pdflatex",
    "args": [
      "-synctex=1",
      "-interaction=nonstopmode",
      "-file-line-error",
      "%DOC%"
    ]
    }, {
    "name": "bibtex",
    "command": "bibtex",
    "args": [
      "%DOCFILE%"
    ]
    }],
    "latex-workshop.view.pdf.viewer": "tab",
    "latex-workshop.latex.clean.fileTypes": [
    "*.aux",
    "*.bbl",
    "*.blg",
    "*.idx",
    "*.ind",
    "*.lof",
    "*.lot",
    "*.out",
    "*.toc",
    "*.acn",
    "*.acr",
    "*.alg",
    "*.glg",
    "*.glo",
    "*.gls",
    "*.ist",
    "*.fls",
    "*.log",
    "*.fdb_latexmk"
    ],

    // 下面是我的setting.json的原始配置(大家不用添加)
        // "window.zoomLevel": 3,
    // "explorer.confirmDragAndDrop": false,
    // "docker.host": "tcp://192.168.1.113:2375",
    // "workbench.editor.enablePreview": false,
    // "workbench.editorAssociations": {
    //   "*.ipynb": "jupyter-notebook",
    //   "*.pdf": "latex-workshop-pdf-hook"
    // },
    // "notebook.cellToolbarLocation": {
    //     "default": "right",
    //     "jupyter-notebook": "left"
    // },
    // "editor.fontSize": 12,
    // "editor.wordWrap": "on",  //自动换行
    // "editor.codeActionsOnSave": {

    // },
    // "editor.tokenColorCustomizations": {

    // },
    // "[latex]": {
    //   "editor.defaultFormatter": "mathematic.vscode-latex"
    // },
    // "explorer.confirmDelete": false,
    // "editor.language.brackets": [

    // ],
}
四、测试
1.在vscode打开一个文件夹,新建paper.bib文件(存放引用文献):
@article{Goyal2019AutomaticLB,
title={Automatic Lesion Boundary Segmentation in Dermoscopic Images with Ensemble Deep Learning Methods},
author={Manu Goyal and Moi Hoon Yap},
journal={ArXiv},
year={2019},
volume={abs/1902.00809}
}
@article{JojoaAcosta2021MelanomaDU,
title={Melanoma diagnosis using deep learning techniques on dermatoscopic images},
author={Mario Fernando Jojoa Acosta and Liesle Yail Caballero Tovar and Maria Begonya Garcia-Zapirain and Winston S. Percybrooks},
journal={BMC Medical Imaging},
year={2021},
volume={21}
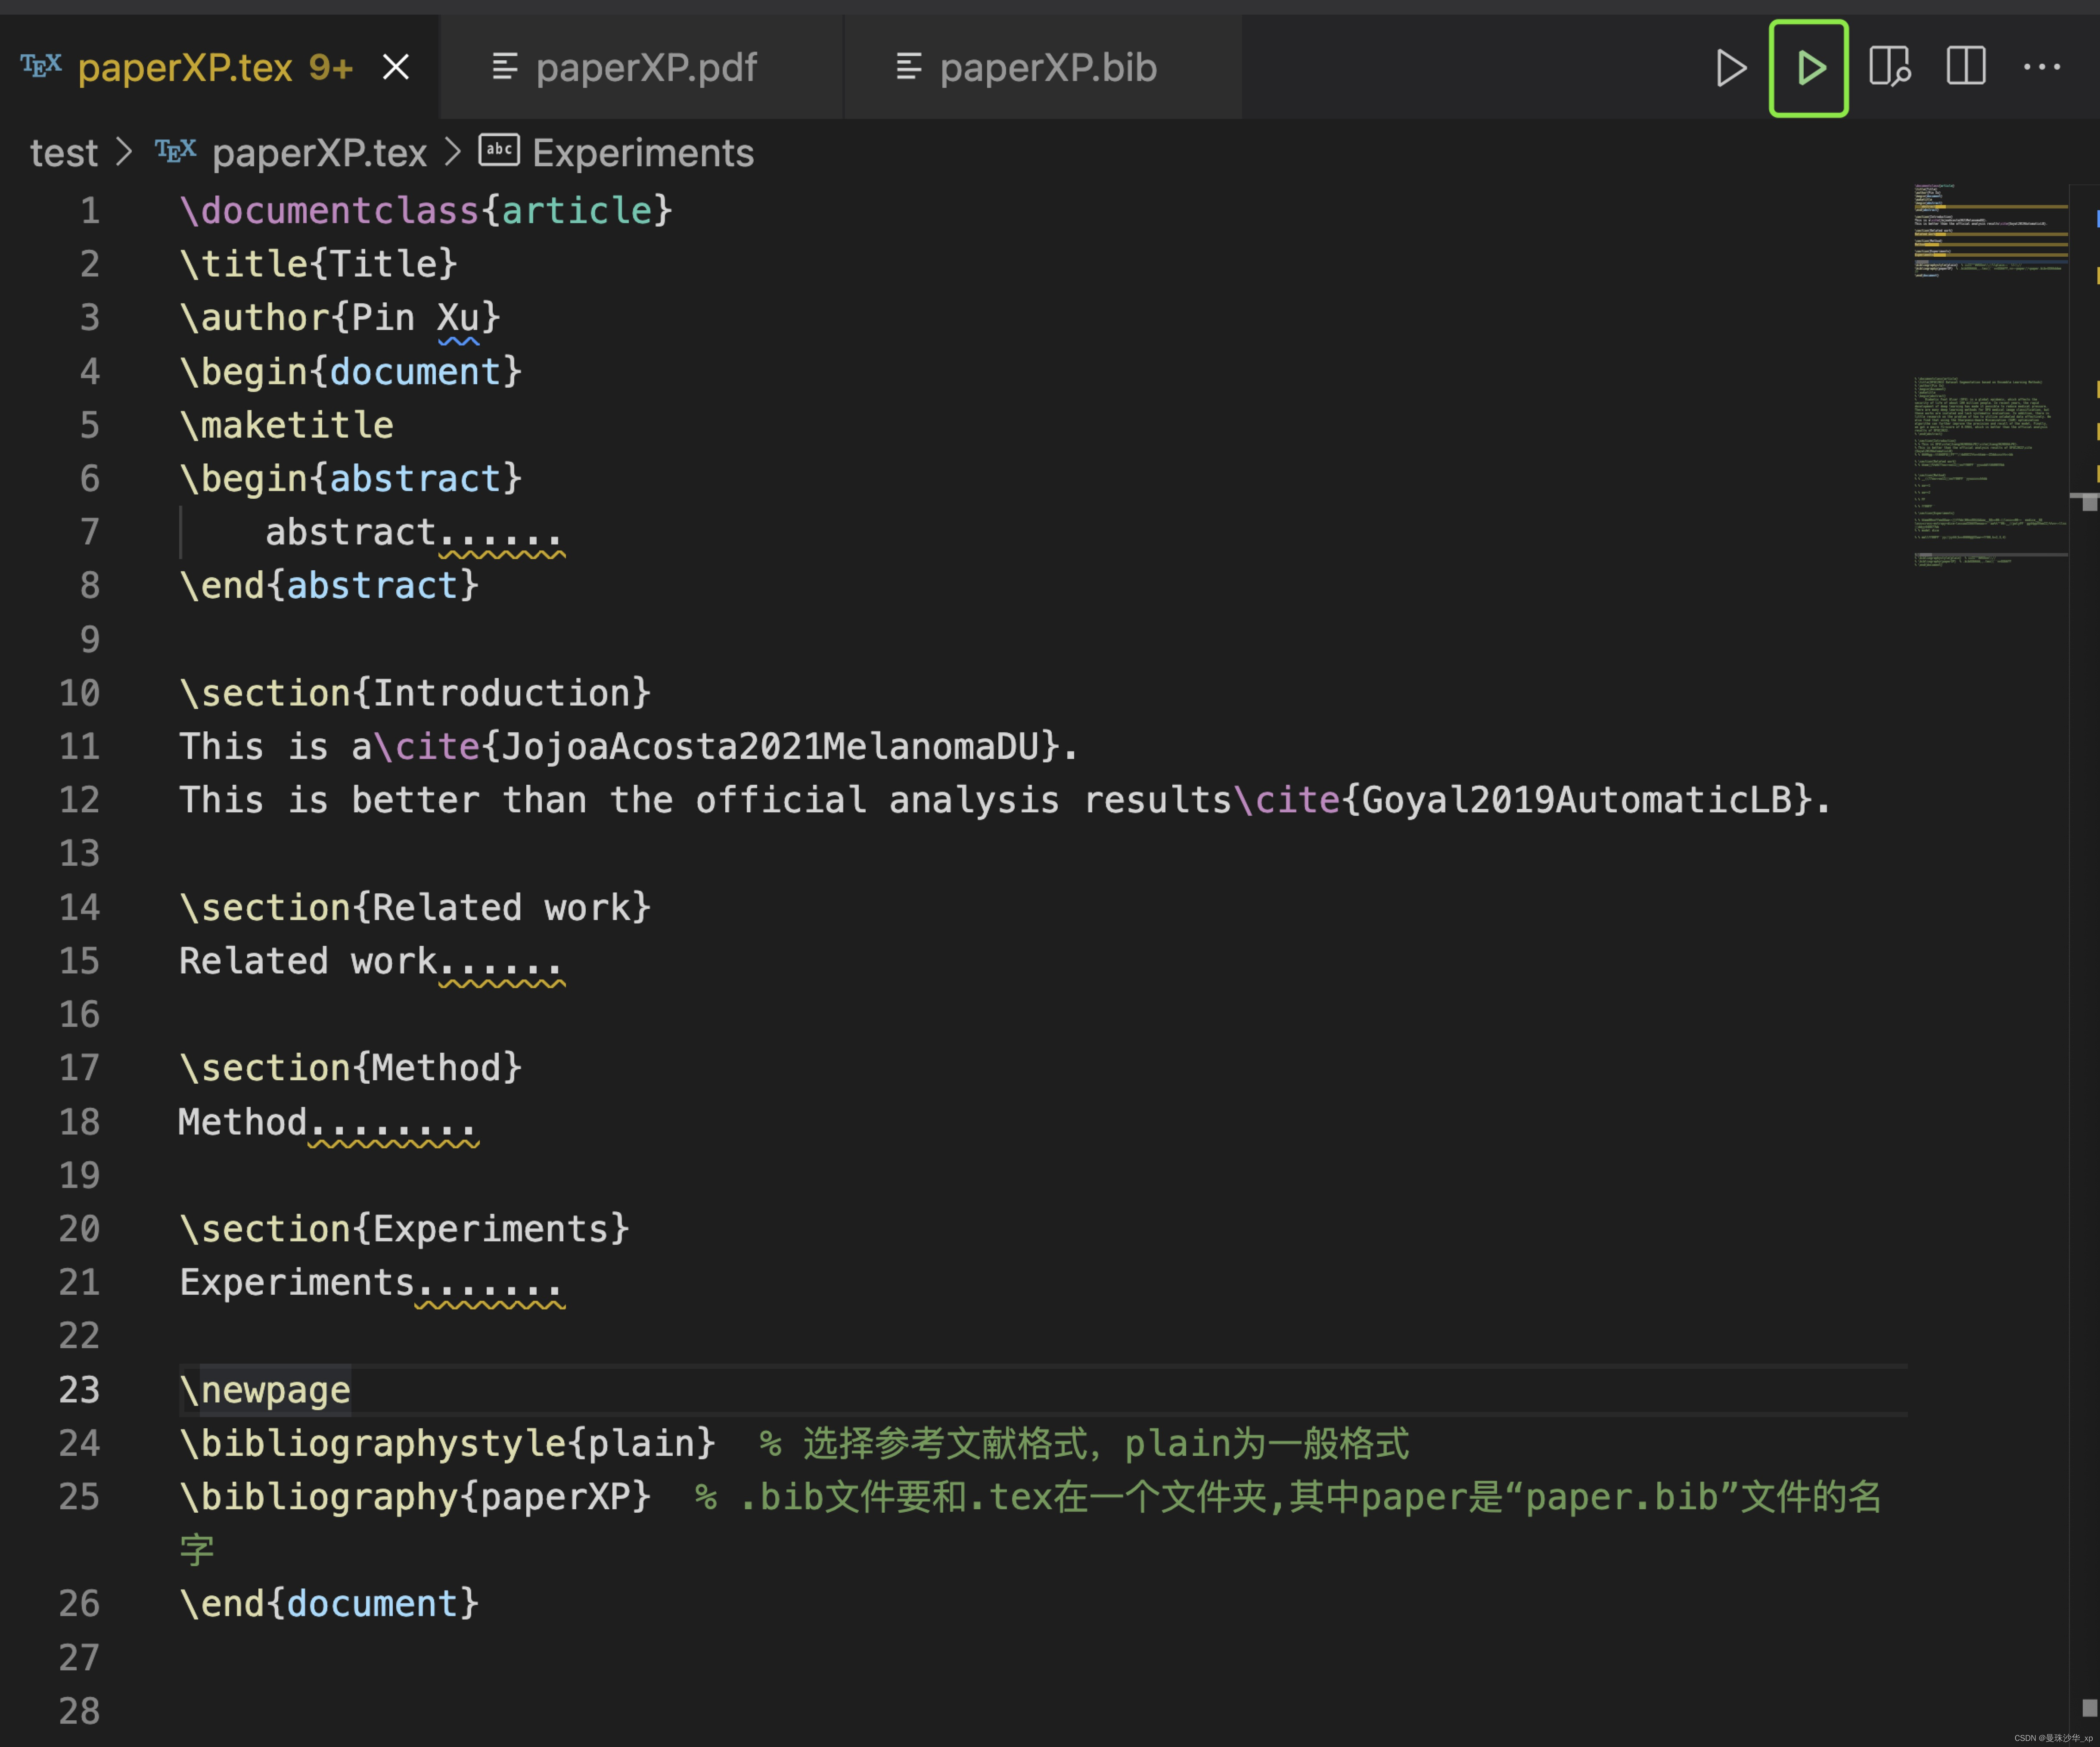
}2.依旧在此文件夹中,新建paper.tex文件:
\documentclass{article}
\title{Title}
\author{Pin Xu}
\begin{document}
\maketitle
\begin{abstract}
    abstract......
\end{abstract}

\section{Introduction}
This is a\cite{JojoaAcosta2021MelanomaDU}.
This is better than the official analysis results\cite{Goyal2019AutomaticLB}.

\section{Related work}
Related work......

\section{Method}
Method........

\section{Experiments}
Experiments.......

\newpage
\bibliographystyle{plain}  % 选择参考文献格式,plain为一般格式
% 按照cite顺序自动排序文献编号,用\bibliographystyle{unsrt}
\bibliography{paper}  % .bib文件要和.tex在一个文件夹,其中paper是“paper.bib”文件的名字
\end{document}
3.点击paper.tex界面右上角的三角形编译,在新生成的paper.pdf中查看效果:

五. 其他
vs code划词翻译插件:Code Translate

其他latex插件,具体什么作用记不清楚了:

latex-bib参考文献人名特殊字符表示:

写在最后 :
笔者只是一个初学者,因为要写论文所以才开始接触Latex,花了一天时间查找资料,得到以上成果,故而记录一下。文中如果出现错误的地方,欢迎您在评论区批评指正,笔者会虚心接受这些产生错误的地方,大家一起努力共同进步。
版权声明:本文内容由互联网用户自发贡献,该文观点与技术仅代表作者本人。本站仅提供信息存储空间服务,不拥有所有权,不承担相关法律责任。如发现本站有涉嫌侵权/违法违规的内容, 请发送邮件至 dio@foxmail.com 举报,一经查实,本站将立刻删除。