
1、uniapp怎么进行路由跳转?
一、uni.navigateTo(OBJECT)
保留当前页面(跳转新的页面),跳转到应用内的某个页面,使用uni.navigateBack可以返回到原页面(非tabBar注册页面使用该方法)
methods: {
toPath(){
//跳转非pages.json>tabbar>配置过的页面,使用navigateTo
//跳转时保留老页面,一般用于需要返回
uni.navigateTo({
url:"…/one/one"
})
}
}
uni.navigateTo(object)必填参数url
其他参数:

//在起始页面跳转到test.vue页面并传递参数
uni.navigateTo({
url: ‘test?id=1&name=uniapp’
});
在test.vue页面接受参数:
export default {
onl oad: function (option) { //option为object类型,会序列化上个页面传递的参数
console.log(option.id); //打印出上个页面传递的参数。
console.log(option.name); //打印出上个页面传递的参数。
}
}
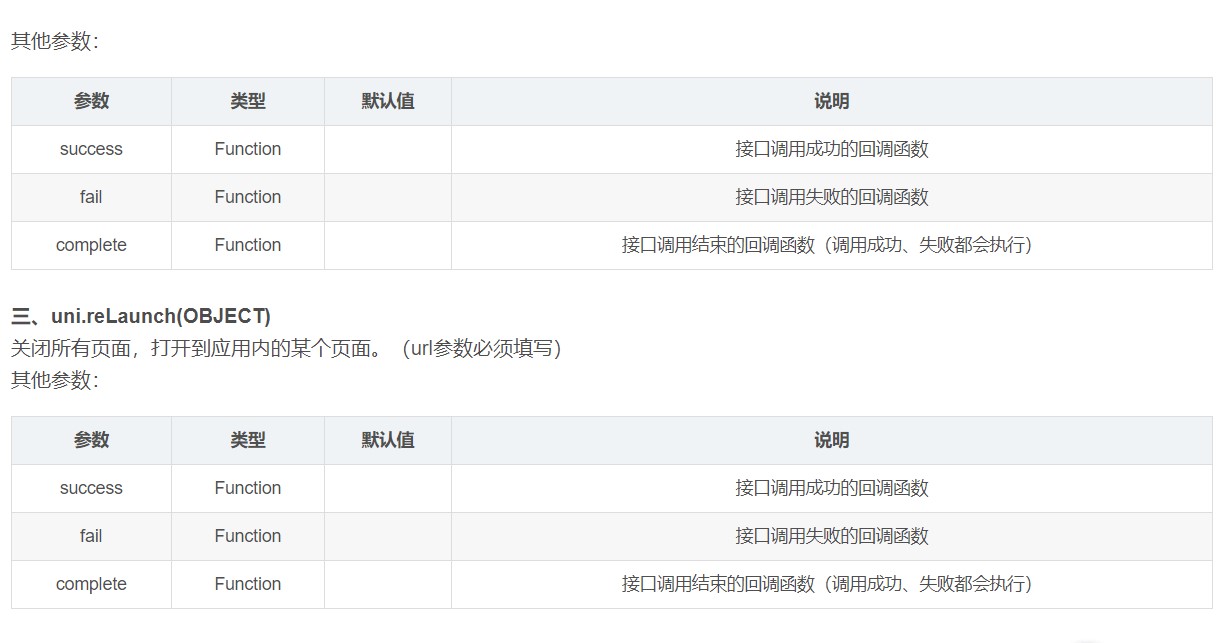
二、uni.redirectTo(OBJECT)
关闭当前页面,跳转到应用内的某个页面。(url参数必须填写)
实例:
methods: {
toPath(){
uni.redirectTo({
url:"…/two/two"//关闭当前页面跳转到two页面
})
}
}
url: ‘test?id=1’//带参数(如果跳转的页面路径是 tabBar 页面则不能带参数)
});
export default {
onl oad: function (option) {
console.log(option.id);
}
}
四、uni.switchTab(OBJECT)
跳转到 tabBar 页面,并关闭其他所有非 tabBar 页面(url参数必须填写)
跳转到 tabBar 页面只能使用 switchTab 跳转
methods: {
toPath(){
//跳转pages.json>tabbar>配置过的页面,使用switchTab
uni.switchTab({
url:"…/news/news"//需要跳转的 tabBar 页面的路径(需在 pages.json 的 tabBar 字段定义的页面),路径后不能带参数
})
}
}
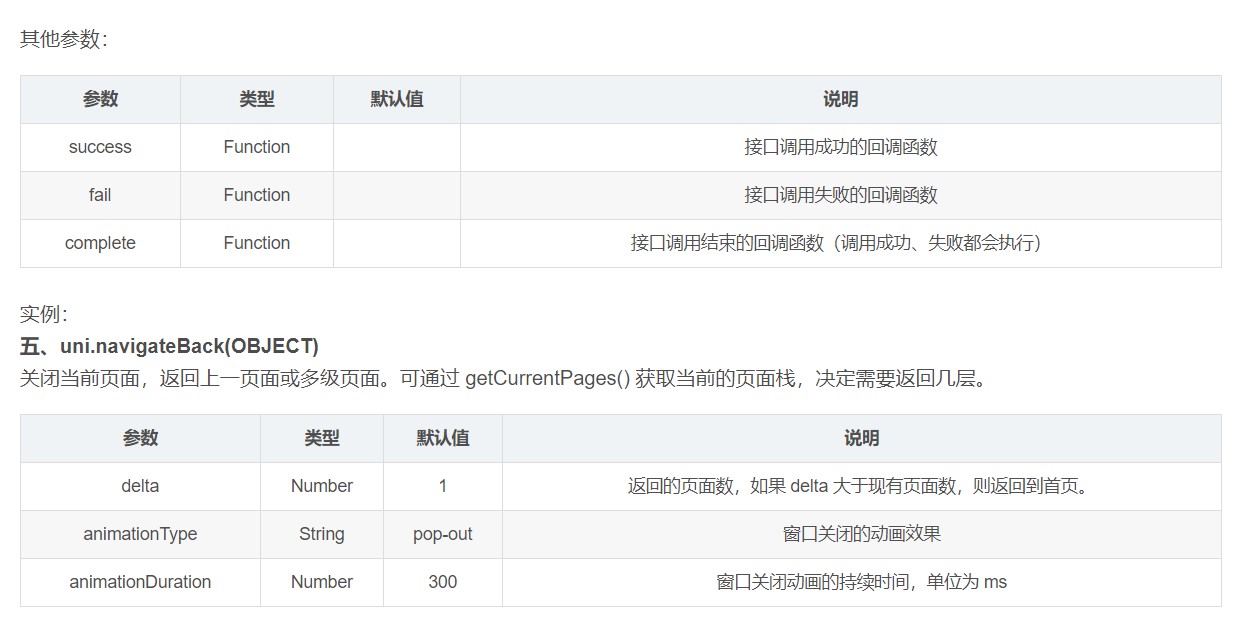
// 此处是A页面
uni.navigateTo({
url: ‘B?id=1’
});
// 此处是B页面
uni.navigateTo({
url: ‘C?id=1’
});
// 在C页面内 navigateBack,将返回A页面
uni.navigateBack({
delta: 2
});
提示:
navigateTo, redirectTo 只能打开非 tabBar 页面。
switchTab 只能打开 tabBar 页面。
reLaunch 可以打开任意页面。
页面底部的 tabBar 由页面决定,即只要是定义为 tabBar 的页面,底部都有 tabBar。
不能在 App.vue 里面进行页面跳转。
2、怎么配置tabbar
详情在:https://uniapp.dcloud.io/collocation/pages?id=tabbar
在pages.json中配置:
“tabBar”: {
“color”: “#7A7E83”,
“selectedColor”: “#3cc51f”,
“borderStyle”: “black”,
“backgroundColor”: “#ffffff”,
“list”: [{
“pagePath”: “pages/component/index”,
“iconPath”: “static/image/icon_component.png”,
“selectedIconPath”: “static/image/icon_component_HL.png”,
“text”: “首页”
}, {
“pagePath”: “pages/API/index”,
“iconPath”: “static/image/icon_API.png”,
“selectedIconPath”: “static/image/icon_API_HL.png”,
“text”: “我的”
}]
}
3、如何请求接口
请求接口是自己封装的
const baseUrl =“http://ceshi2.dishait.cn/api/v1/”;
let request = function(url,data={},method=“GET”){
uni.showLoading({
title: “加载中”
})
return new Promise((resolve,reject)=>{
	uni.request({
	    url: "/api"+url, //仅为示例,并非真实接口地址。
	    data,
		method,
		timeout:6000,
	    header: {
	        'custom-header': 'hello', //自定义请求头信息
			"content-type": "application/x-www-form-urlencoded",
			"token":uni.getStorageSync("token")
	    },

	    success: (res) => {
	        resolve(res)
	    },
		fail:(res)=>{
			reject(res)
		},
		// 结束loading
		complete: (e) => {
			uni.hideLoading()
		}
	});
})
}
module.exports=request
然后在main.js中引入全局设置
import hmw from ‘./utils/hmw.js’
Vue.prototype.hmw = hmw
在页面中是
this.hmw(")
4、 从uniapp使用的开发软件,到创建,到运行,如何打包不同平台的代码,如何打包apk,云打包,如何运行在不同的端
先进入HBuilder X,里面有个文件然后新建然后项目创建就可以了
打包:
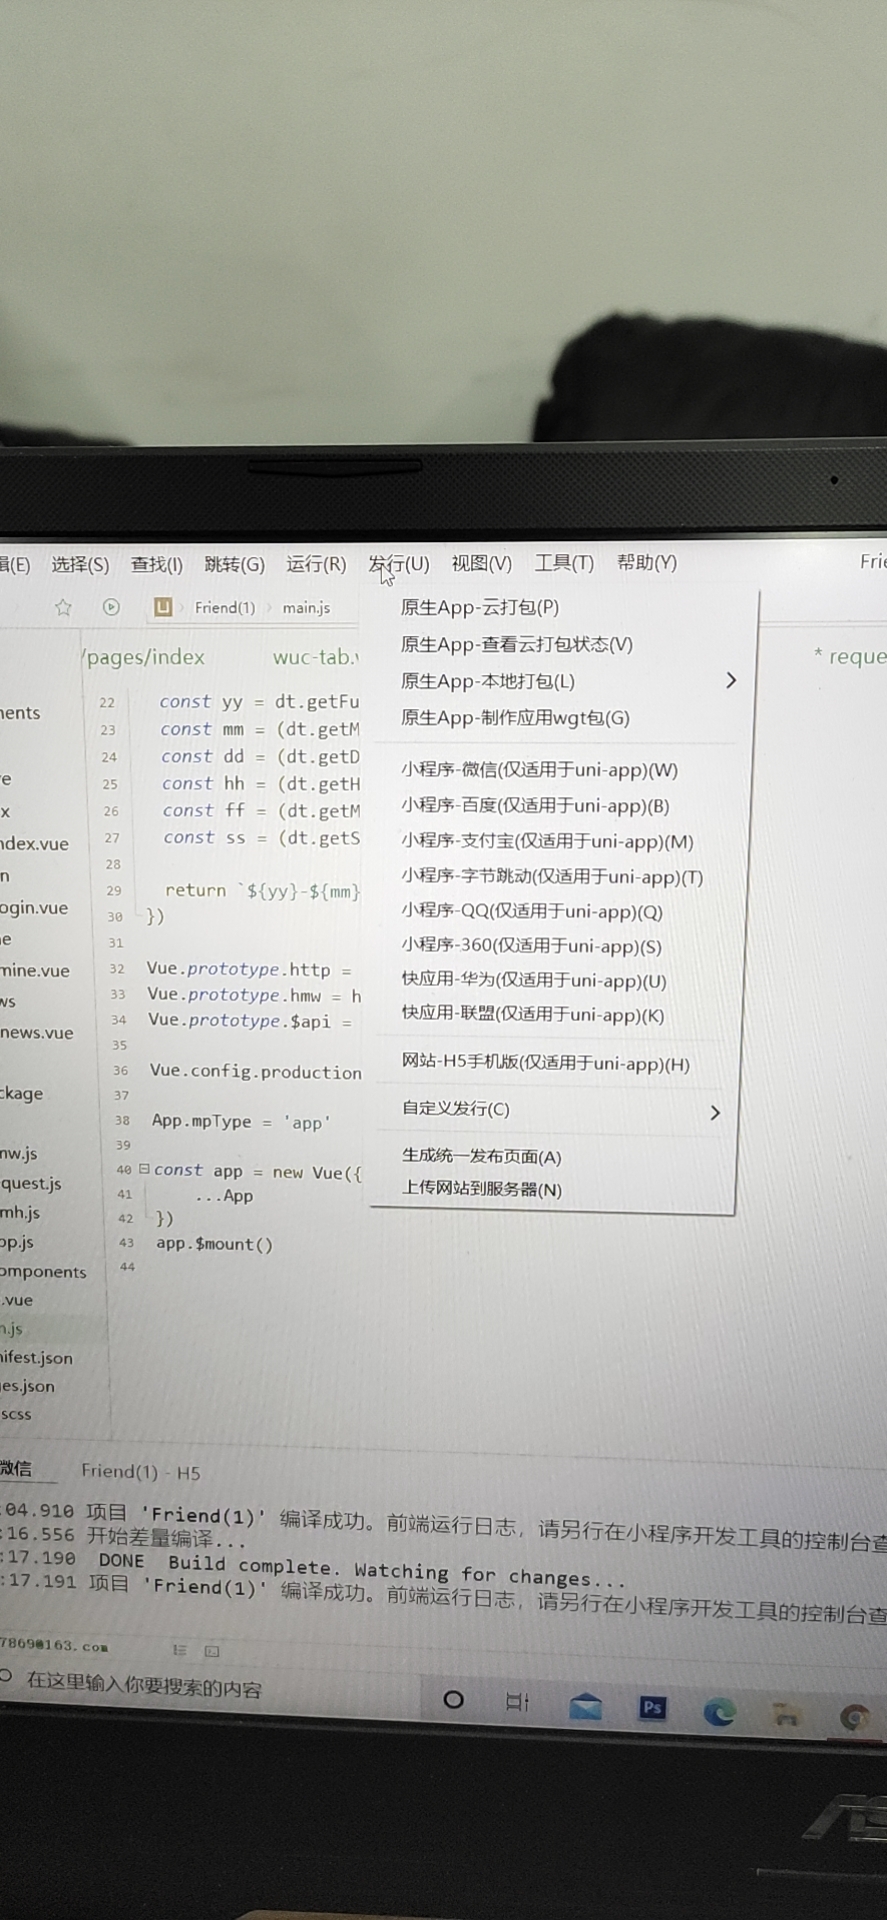
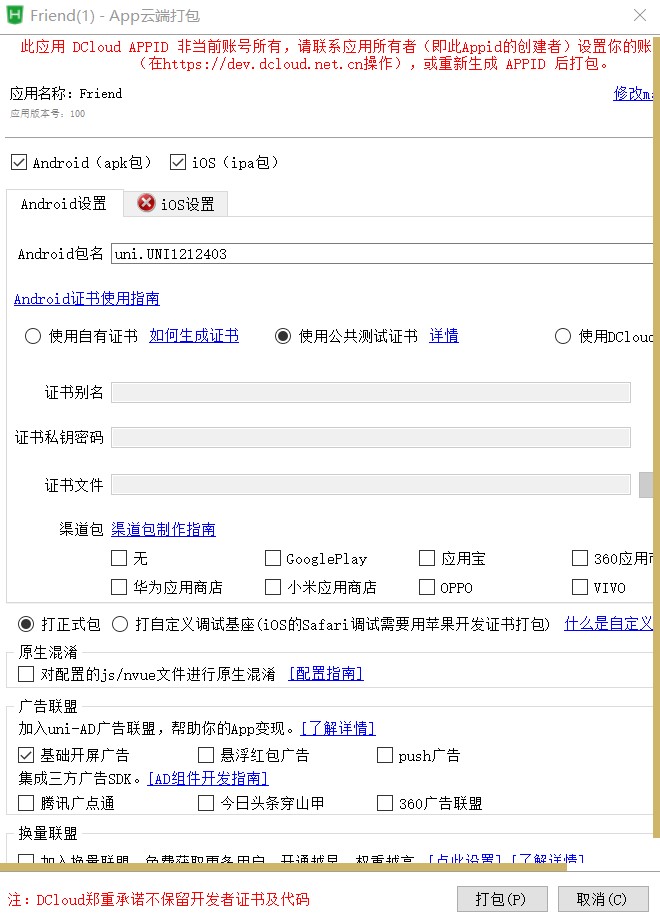

如何运行在不同端:
5、如何使用组件
https://uniapp.dcloud.io/component/README
6、基础语法是什么
开发工具
HBuilderX,如果要开发uni-app肯定是官方的工具支持最好。
介绍
uni-app官方推荐使用flex布局,兼容性最好。
代码里的语法是小程序和vue的结合,uni-app之所以能兼容多平台也是因为小程序的出现。
并不是所有的代码都可以跑不同平台,有时候需要对不同平台进行独立编写。
工具
在HBuilderX工具里直接创建一个uni-app项目,就可以开始基础语法练习了。
模版语法与数据绑定
//正确用法,使用函数返回对象
data() {
return {
title: ‘Hello’
}
}
//错误写法,会导致再次打开页面时,显示上次数据
data: {
title: ‘Hello’
}
通过下面的方法引用数据:
标题: {{ title }}
条件渲染
v-else 元素必须紧跟在带 v-if 或者 v-else-if 的元素的后面,否则它将不会被识别。
在data数据里,awesome为true的时候展示Vue is awesome.
Vue is awesome!
Oh no
原文地址:https://blog.csdn.net/loveliujinggive/article/details/110670890
版权声明:本文内容由互联网用户自发贡献,该文观点与技术仅代表作者本人。本站仅提供信息存储空间服务,不拥有所有权,不承担相关法律责任。如发现本站有涉嫌侵权/违法违规的内容, 请发送邮件至 dio@foxmail.com 举报,一经查实,本站将立刻删除。