
文章目录
Github搜索实例
使用React搭建前端,使用axios向GitHub发送搜索用户名的请求并返回数据,然后展示相关用户名的头像等数据。
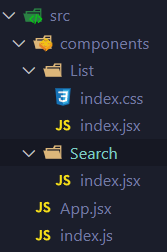
src目录结构
App.jsx:
App是一个大的组件,里面包含两种(Search和List)组件。
数据传输通过App中定义数据,传给Search修改返回App,然后App再传给List展现
import React, { Component } from 'react'
import Search from './components/Search'
import List from './components/List'

export default class App extends Component {

	state = { //初始化状态
		users:[], //users初始值为数组
		isFirst:true, //是否为第一次打开页面
		isLoading:false,//标识是否处于加载中
		err:'',//存储请求相关的错误信息
	}

	//更新App的state
	updateAppState = (stateObj)=>{
		this.setState(stateObj)
	}

	render() {
		return (
			<div className="container">
				<Search updateAppState={this.updateAppState}/>
				<List {...this.state}/>
			</div>
		)
	}
}
index.jsx:
脚手架入口文件
//引入react核心库
import React from 'react'
//引入ReactDOM
import ReactDOM from 'react-dom'
//引入App
import App from './App'

ReactDOM.render(<App/>,document.getElementById('root'))
componets/List/index.css:
.album {
  min-height: 50rem; /* Can be removed; just added for demo purposes */
  padding-top: 3rem;
  padding-bottom: 3rem;
  background-color: #f7f7f7;
}

.card {
  float: left;
  width: 33.333%;
  padding: .75rem;
  margin-bottom: 2rem;
  border: 1px solid #efefef;
  text-align: center;
}

.card > img {
  margin-bottom: .75rem;
  border-radius: 100px;
}

.card-text {
  font-size: 85%;
}
componets/List/index.jsx:
使用三目运算判断逻辑结构
import React, { Component } from 'react'
import './index.css'
export default class List extends Component {
render() {
const {users,isFirst,isLoading,err} = this.props
return (
<div className="row">
{
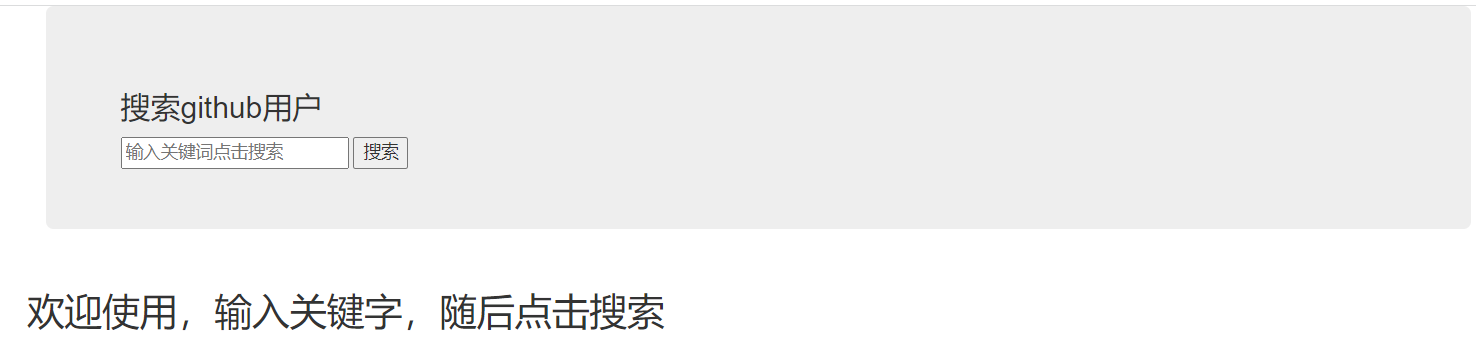
isFirst ? <h2>欢迎使用,输入关键字,随后点击搜索</h2> :
isLoading ? <h2>Loading......</h2> :
err ? <h2 style={{color:'red'}}>{err}</h2> :
users.map((userObj)=>{
return (
<div key={userObj.id} className="card">
<a rel="noreferrer" href={userObj.html_url} target="_blank">
<img alt="head_portrait" src={userObj.avatar_url} style={{width:'100px'}}/>
</a>
<p className="card-text">{userObj.login}</p>
</div>
)
})
}
</div>
)
}
}
componets/Search/index.jsx:
使用axios向GitHub发送请求并返回数据
import React, { Component } from 'react'
import axios from 'axios'
export default class Search extends Component {
search = ()=>{
//获取用户的输入(连续解构赋值+重命名)
// value重命名为keyWord
const {keyWordElement:{value:keyWord}} = this
//发送请求前通知App更新状态
this.props.updateAppState({isFirst:false,isLoading:true})
//发送网络请求
//https://api.github.com/search/users?q=xxxxx
axios.get(`https://api.github.com/search/users?q=${keyWord}`).then(
response => {
//请求成功后通知App更新状态
this.props.updateAppState({isLoading:false,users:response.data.items})
},
error => {
//请求失败后通知App更新状态
this.props.updateAppState({isLoading:false,err:error.message})
}
)
}
render() {
return (
<section className="jumbotron">
<h3 className="jumbotron-heading">搜索github用户</h3>
<div>
<input ref={c => this.keyWordElement = c} type="text" placeholder="输入关键词点击搜索"/>
<button onClick={this.search}>搜索</button>
</div>
</section>
)
}
}
运行
如果没有axios需要npm安装一下axios
然后启动脚手架:
npm start
输入内容点击搜索:
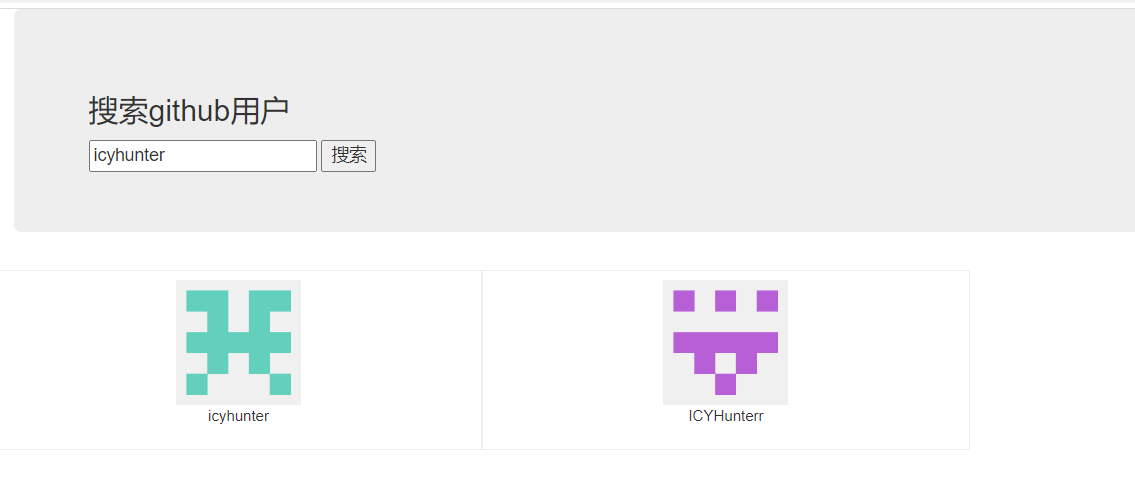
可以返回结果
点击头像能够跳转到对应作者仓库的页面。
子组件之间信息传递
上面是借助父组件来实现子组件之间信息传递,其实可以直接进行对话的
需要借助pubsub-js
首先安装:
yarn add pubsub-js
需要更改的文件代码
App.jsx:
这才是App该有的样子
import React, { Component } from 'react'
import Search from './components/Search'
import List from './components/List'

export default class App extends Component {

	render() {
		return (
			<div className="container">
				<Search/>
				<List/>
			</div>
		)
	}
}
component/Search/index.js:
使用pubsub发布消息
import React, { Component } from 'react'
import axios from 'axios'
import PubSub from 'pubsub-js'
export default class Search extends Component {
search = ()=>{
//获取用户的输入(连续解构赋值+重命名)
// value重命名为keyWord
const {keyWordElement:{value:keyWord}} = this
//发送请求前通知List更新状态
PubSub.publish("hunter", {isFirst:false, isLoading:true})
// this.props.updateAppState({isFirst:false,isLoading:true})
//发送网络请求
//https://api.github.com/search/users?q=xxxxx
axios.get(`https://api.github.com/search/users?q=${keyWord}`).then(
response => {
//请求成功后通知List更新状态
PubSub.publish("hunter",{isLoading:false,users:response.data.items})
},
error => {
//请求失败后通知List更新状态
PubSub.publish("hunter", {isLoading:false,err:error.message})
}
)
}
render() {
return (
<section className="jumbotron">
<h3 className="jumbotron-heading">搜索github用户</h3>
<div>
<input ref={c => this.keyWordElement = c} type="text" placeholder="输入关键词点击搜索"/>
<button onClick={this.search}>搜索</button>
</div>
</section>
)
}
}
component/List/index.js:
使用pubsub订阅消息
import React, { Component } from 'react'
import './index.css'
import PubSub from 'pubsub-js'

export default class List extends Component {
	state = { //初始化状态
		users:[], //users初始值为数组
		isFirst:true, //是否为第一次打开页面
		isLoading:false,//标识是否处于加载中
		err:'',//存储请求相关的错误信息
	}

	componentDidMount(){
		this.token = PubSub.subscribe("hunter", (_, stateObj)=>{
			this.setState(stateObj)
		});
	}
	componentWillUnmount(){
		PubSub.unsubscribe(this.token)
	}

	render() {
		const {users,isFirst,isLoading,err} = this.state
		return (
			<div className="row">
				{
					isFirst ? <h2>欢迎使用,输入关键字,随后点击搜索</h2> :
					isLoading ? <h2>Loading......</h2> :
					err ? <h2 style={{color:'red'}}>{err}</h2> :
					users.map((userObj)=>{
						return (
							<div key={userObj.id} className="card">
								<a rel="noreferrer" href={userObj.html_url} target="_blank">
									<img alt="head_portrait" src={userObj.avatar_url} style={{width:'100px'}}/>
								</a>
								<p className="card-text">{userObj.login}</p>
							</div>
						)
					})
				}
			</div>
		)
	}
}
这样即可完成组件间的消息传递。消息名为hunter
fetch
fetch为内置函数,能够和xhr一样向服务器发送请求,是promise风格,但是和xhr不一样,不像jquery、axios是对xhr的封装。
版权声明:本文内容由互联网用户自发贡献,该文观点与技术仅代表作者本人。本站仅提供信息存储空间服务,不拥有所有权,不承担相关法律责任。如发现本站有涉嫌侵权/违法违规的内容, 请发送邮件至 dio@foxmail.com 举报,一经查实,本站将立刻删除。