
一、项目背景
最近在做一个扫描数据中心设备(交换机。路由器、防火墙。。。)端口的功能。
需要用到 snmp 组件,Python 下有很多实现 snmp 的包,常用的有 pysnmp 和 easysnmp。由于pysnmp 的语法太恶心了,所以果断选择 easysnmp,easysnmp 需要依赖 C 语言的 net-snmp 库,所以速度还是很快的。
二、解决过程
在开发环境下(Mac 环境)直接使用 pip 安装即可。
pip install easysnmp
由于整个项目是使用微服务进行开发的,部署是使用Docker 容器的方式。DockerFile 内容如下:
FROM python:3.8

COPY . /app
COPY ./docker/sources.list /etc/apt/sources.list
RUN mkdir -p /app/logs

RUN apt-get update && apt-get install supervisor -y

COPY ./docker/supervisor_site.conf /etc/supervisor/conf.d
COPY ./docker/supervisord.conf /etc/supervisor/

WORKDIR /app

RUN pip3 install -r /app/requirements.txt -i https://pypi.tuna.tsinghua.edu.cn/simple
EXPOSE 8000

CMD ["supervisord","-c","/etc/supervisor/supervisord.conf"]
果然在上测试线的时候出问题了。
easysnmp/interface.c:24:10: fatal error: net-snmp/net-snmp-config.h: No such file or directory
#include <net-snmp/net-snmp-config.h>
        ^~~~~~~~~~~~~~~~~~~~~~~~~~~~
compilation terminated.
error: command 'gcc' failed with exit status 1
----------------------------------------
从报错可以看出,是因为缺少 <net-snmp/net-snmp-config.h>,那就装一个好了。
因为 python:3.8 镜像的系统是 debian 的,所以使用 apt-get 安装。
Step 4/10 : RUN apt-get install net-snmp -y
 ---> Running in 949cd83c18e8
Reading package lists...
Building dependency tree...
Reading state information...
[91mE: Unable to locate package net-snmp
[0mThe command '/bin/sh -c apt-get install net-snmp -y' returned a non-zero code: 100
果然不是那么顺利,报错内容是没有这个包,这特么就奇了怪了,Centos 之前通过 yum 装的,可以直接安装 net-snmp 的,难道这里面还有猫腻?哦,我知道了,应该是源里没有这个软件包。那就使用阿里云的源替换一下,应该就没问题了吧。
deb http://mirrors.aliyun.com/debian stretch main contrib non-free
deb-src http://mirrors.aliyun.com/debian stretch main contrib non-free
deb http://mirrors.aliyun.com/debian stretch-updates main contrib non-free
deb-src http://mirrors.aliyun.com/debian stretch-updates main contrib non-free
deb http://mirrors.aliyun.com/debian-security stretch/updates main contrib non-free
deb-src http://mirrors.aliyun.com/debian-security stretch/updates main contrib non-free
呃。。。
[91mE: Unable to locate package net-snmp
还是一样的。
去 easysnmp GitHub 上找找看,看下有没有其他人遇到这个问题。
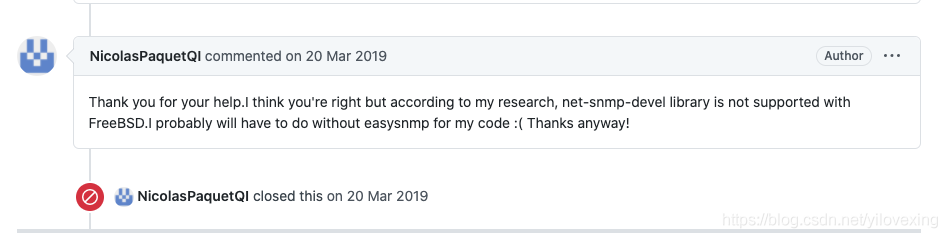
https://github.com/kamakazikamikaze/easysnmp/issues/110
靠!他叫我放弃!!!我怎么可能会放弃。。。继续找,欸,找到一个,还是作者回答的,看来靠谱。
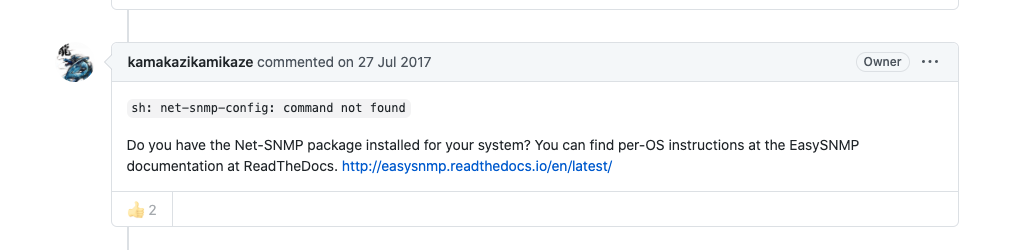
https://github.com/kamakazikamikaze/easysnmp/issues/67
去看看 EasySNMP 文档。
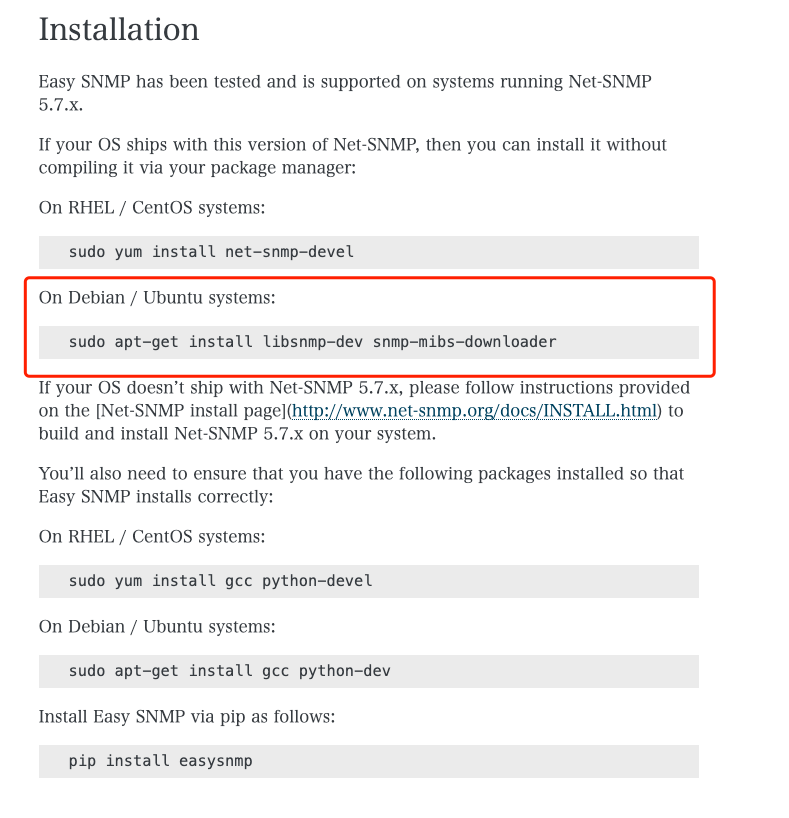
哦哦,是这样啊,Debian 和 CentOS 安装 net-snmp 还不一样。
On Debian / Ubuntu systems:
sudo apt-get install libsnmp-dev snmp-mibs-downloader
哈哈,终于成功。。。个屁~
Step 5/11 : RUN apt-get update && apt-get install libsnmp-dev snmp-mibs-downloader -y
 ---> Running in d02df4ee3b77
...
[91mE: Unable to correct problems,you have held broken packages.
包损坏了,还有依赖的问题,装依赖库 libpci-dev。
The following packages have unmet dependencies:
 libpci-dev : Depends: libudev-dev (>= 196) but it is not going to be installed
[91mE: Unable to correct problems,you have held broken packages.
版本还不对。。。
等下,先缓缓,想一下问题到底出在哪里?
。。。
经过一段时间的思考,我觉得从头开始解决这个问题。
先从镜像开始,不使用封装好的镜像,要纯镜像。我选用 ubuntu:18.04 的镜像试试看。
FROM ubuntu:18.04
然后替换软件包的源。
sources.list
deb http://mirrors.aliyun.com/ubuntu/ bionic main restricted universe multiverse
deb http://mirrors.aliyun.com/ubuntu/ bionic-security main restricted universe multiverse
deb http://mirrors.aliyun.com/ubuntu/ bionic-updates main restricted universe multiverse
deb http://mirrors.aliyun.com/ubuntu/ bionic-proposed main restricted universe multiverse
deb http://mirrors.aliyun.com/ubuntu/ bionic-backports main restricted universe multiverse
deb-src http://mirrors.aliyun.com/ubuntu/ bionic main restricted universe multiverse
deb-src http://mirrors.aliyun.com/ubuntu/ bionic-security main restricted universe multiverse
deb-src http://mirrors.aliyun.com/ubuntu/ bionic-updates main restricted universe multiverse
deb-src http://mirrors.aliyun.com/ubuntu/ bionic-proposed main restricted universe multiverse
deb-src http://mirrors.aliyun.com/ubuntu/ bionic-backports main restricted universe multiverse
经过多次尝试后证明刚刚的想法是可行的。
COPY ./docker/sources.list /etc/apt/sources.list
RUN apt-get update
RUN apt-get install gcc python3.8 python3-pip -y
RUN apt-get install libsnmp-dev snmp-mibs-downloader -y
最后安装 supervisor,项目中管理进程要用到。
RUN apt-get install supervisor -y
完了,又出问题了。基于 gevent 来启动 gunicorn 部署的 Flask 服务,在 Python2 版本下面的时候是正常启动的,但是在 Python3 版本下面启动测试的时候就报错了,报错信息如下所示:
pkg_resources.DistributionNotFound: The 'psutil>=5.7.0; sys_platform != "win32" or platform_python_implementation == "CPython" and extra == "recommended"' distribution was not found and is required by the application
根据报错输出定位到 gevent 使用的时候报错了,从错误信息里面其实可以猜出来一个大概就是:应该是某个模块缺失导致的报错,尝试安装这个模块 psutil,来观察错误是否解决。
RUN pip3 install psutil==5.7.2 -i https://pypi.douban.com/simple/
注意上面模块安装的版本信息,要求是 >=5.7.0,我安装的 5.7.2 满足要求,接下来重新执行发现问题解决了。
最后执行部署整个项目到测试线,发现一次通过,完美解决。
其实,真是的过程比写出来的还要坎坷。但我也一直在思考一个问题
原文地址:https://blog.csdn.net/yilovexing
版权声明:本文内容由互联网用户自发贡献,该文观点与技术仅代表作者本人。本站仅提供信息存储空间服务,不拥有所有权,不承担相关法律责任。如发现本站有涉嫌侵权/违法违规的内容, 请发送邮件至 dio@foxmail.com 举报,一经查实,本站将立刻删除。