
nexus安装
nexus安装参考:https://www.cnblogs.com/cndevops/p/14975253.html
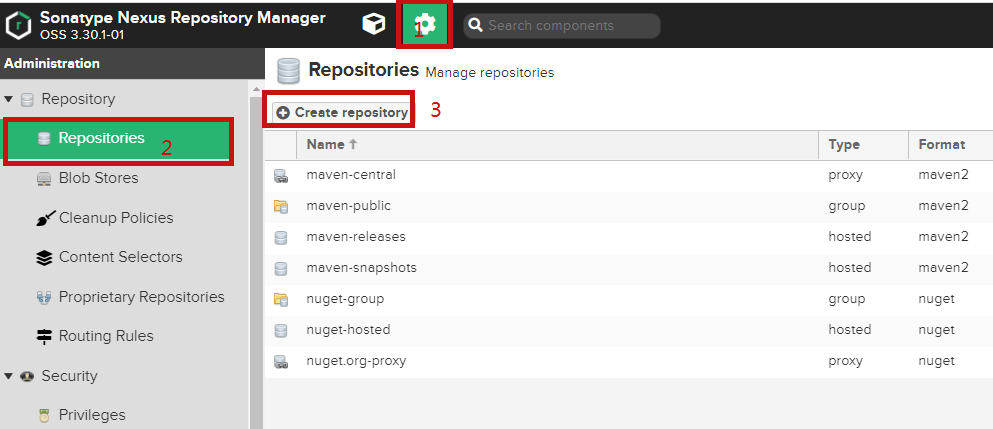
nexus配置
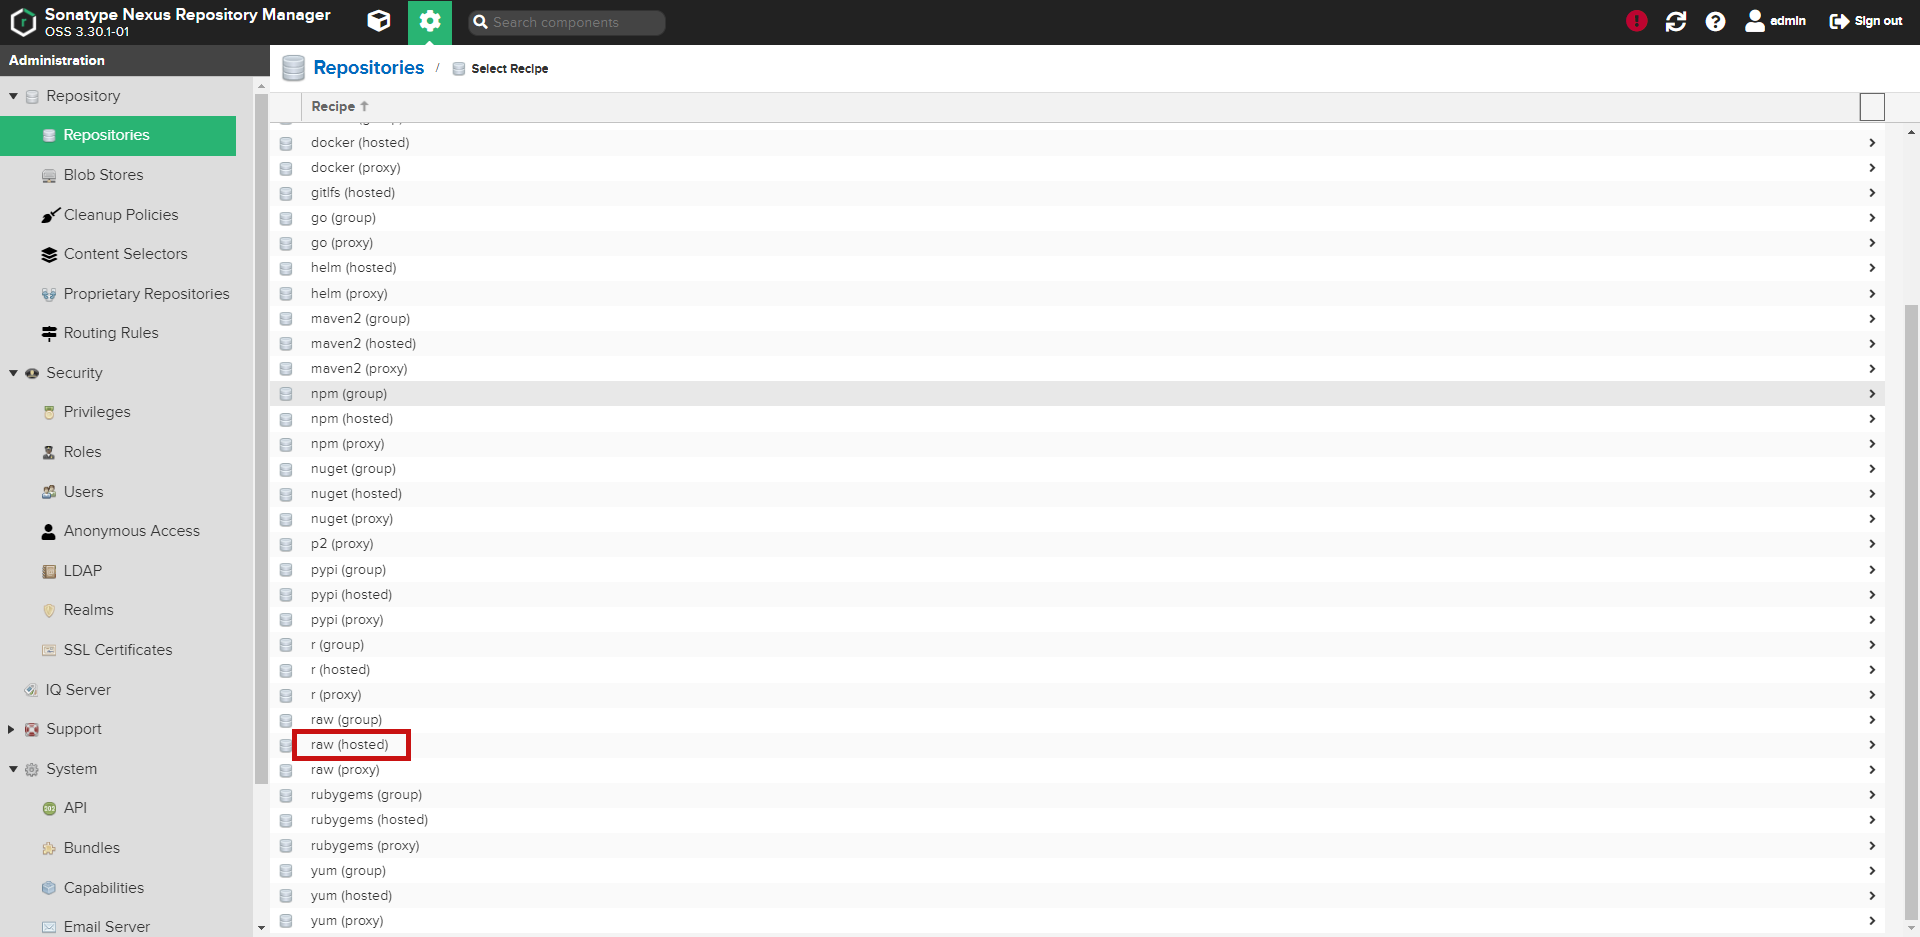
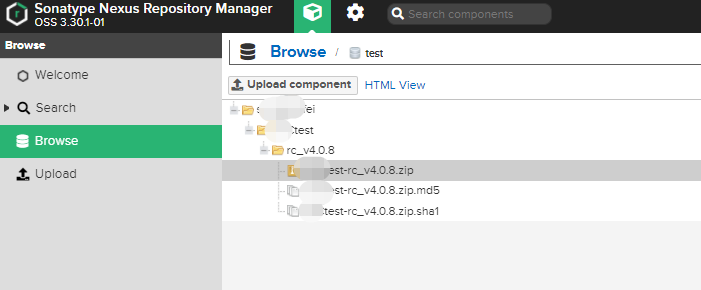
创建制品库
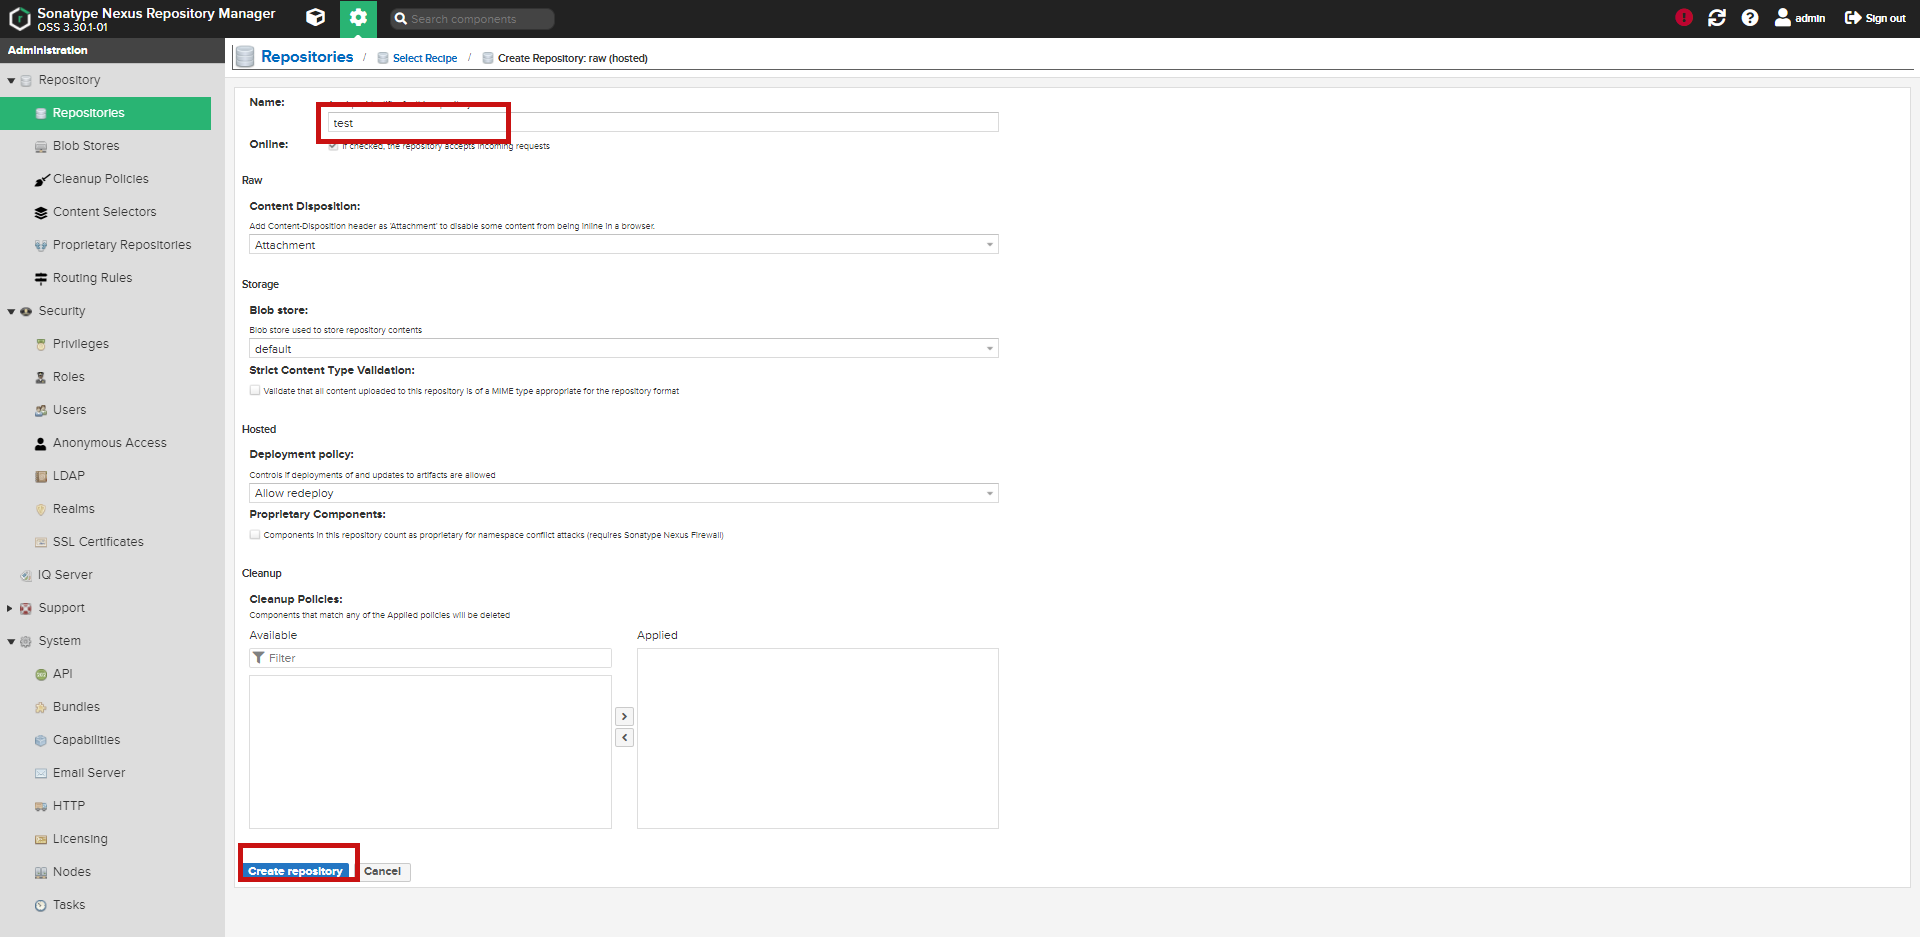
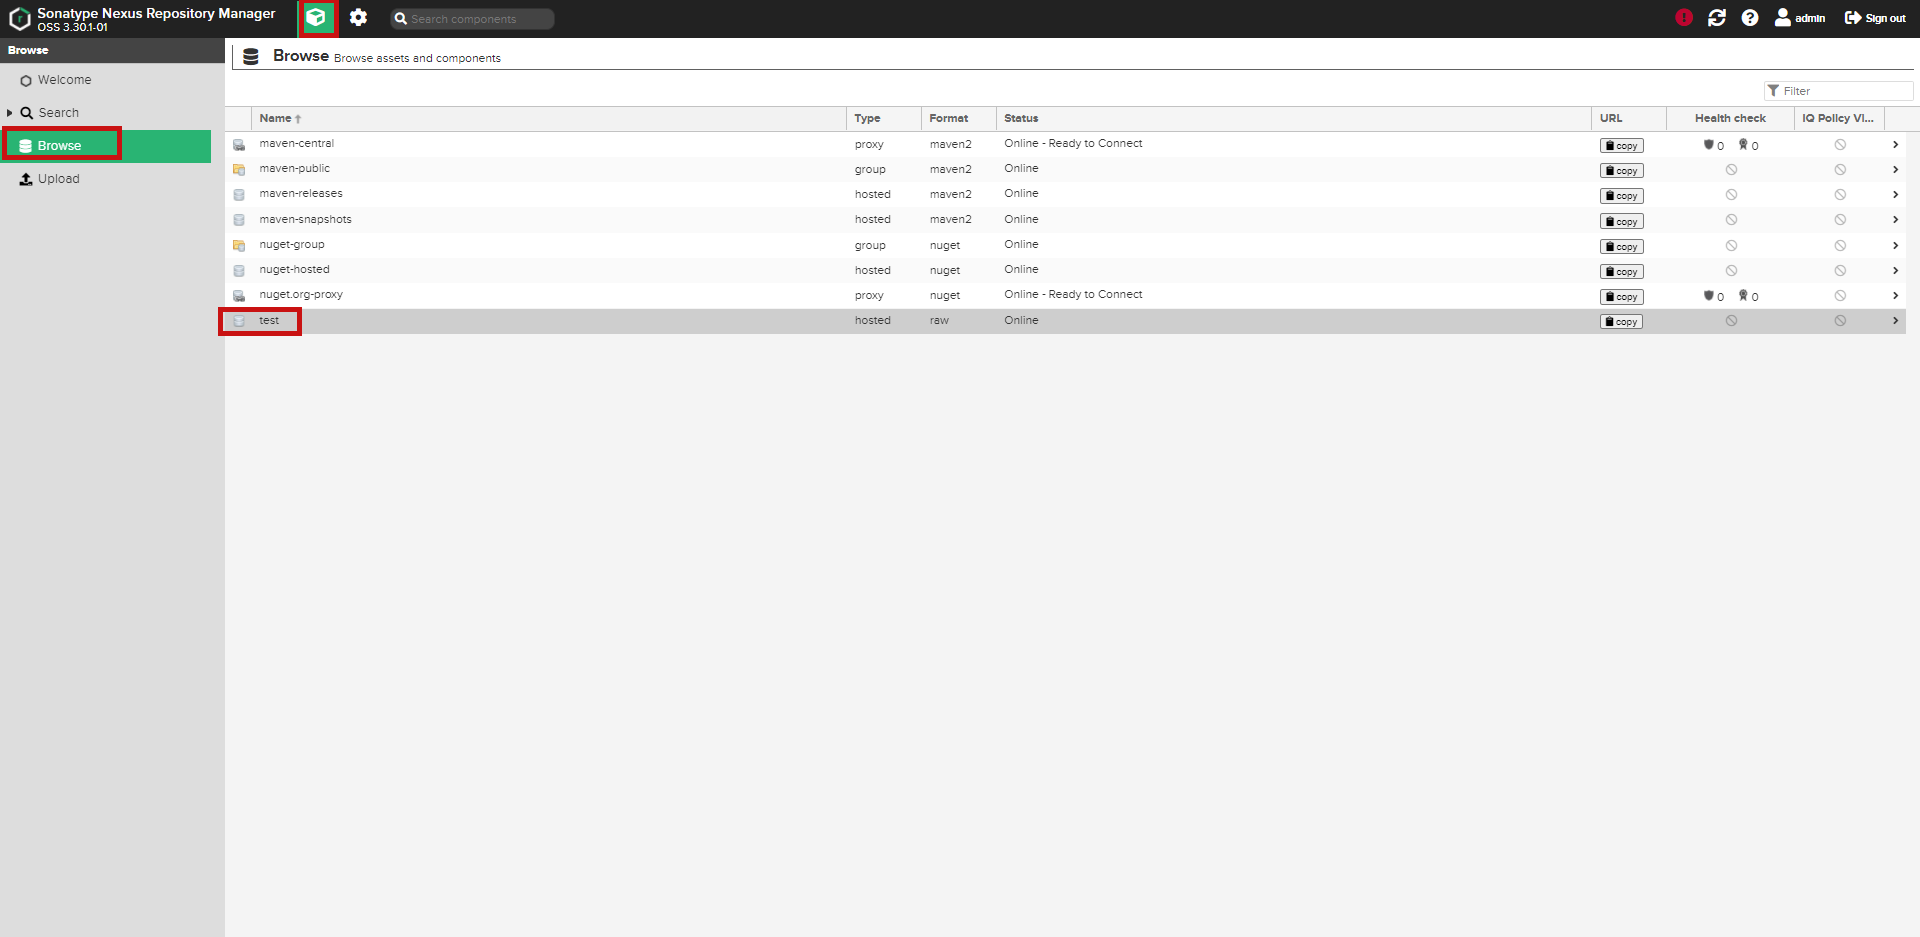
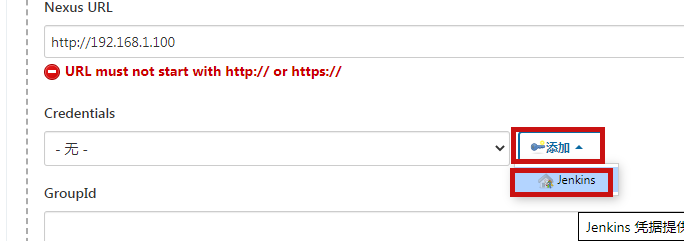
制品库URL:http://192.168.1.100:8081/repository/test/
jenkins安装
jenkins安装参考:
https://www.cnblogs.com/cndevops/p/14975289.html
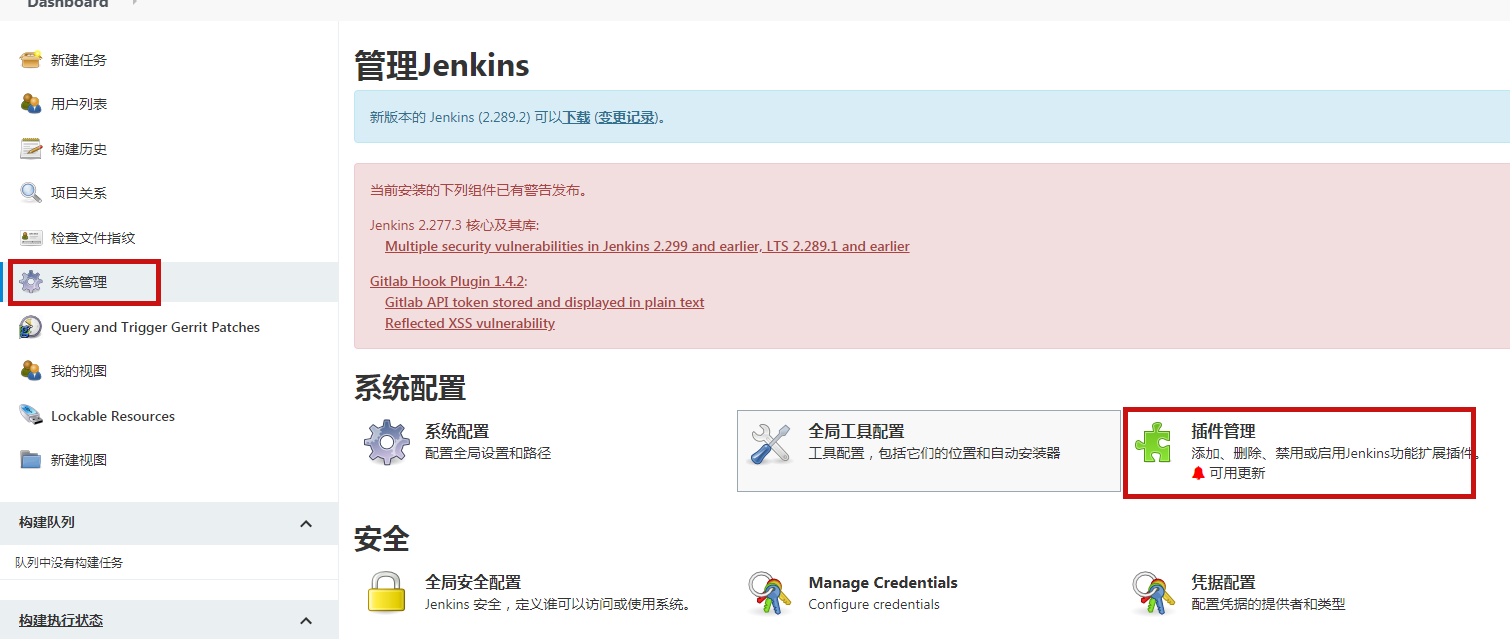
jenkins配置
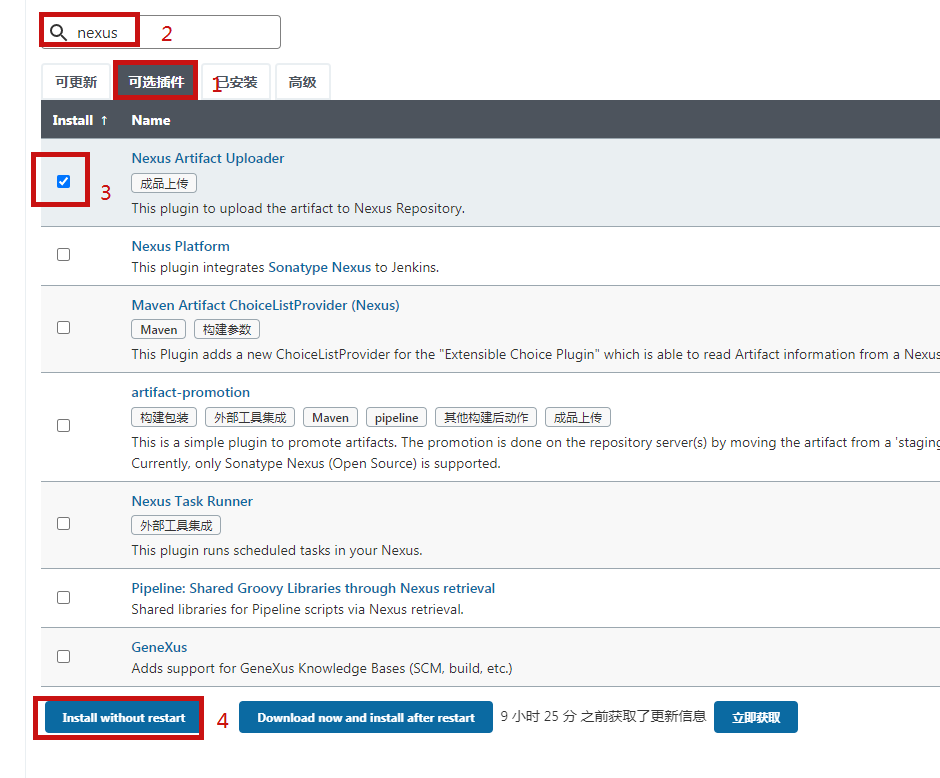
安装nexus artifact uploader插件
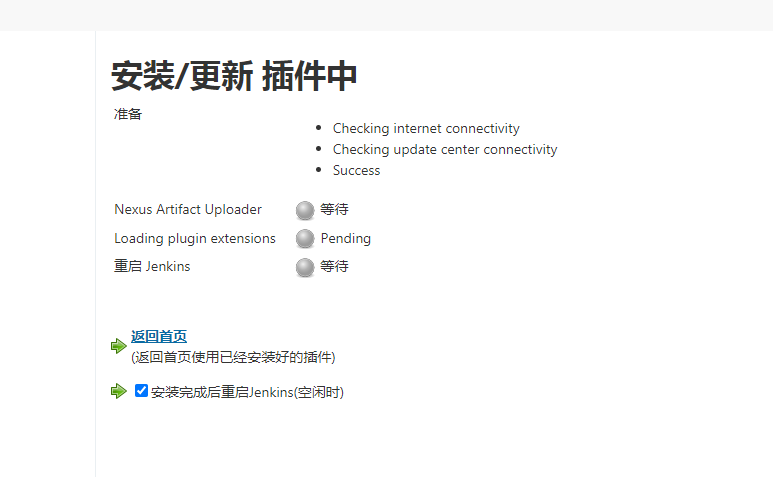
等待重启后进行插件配置
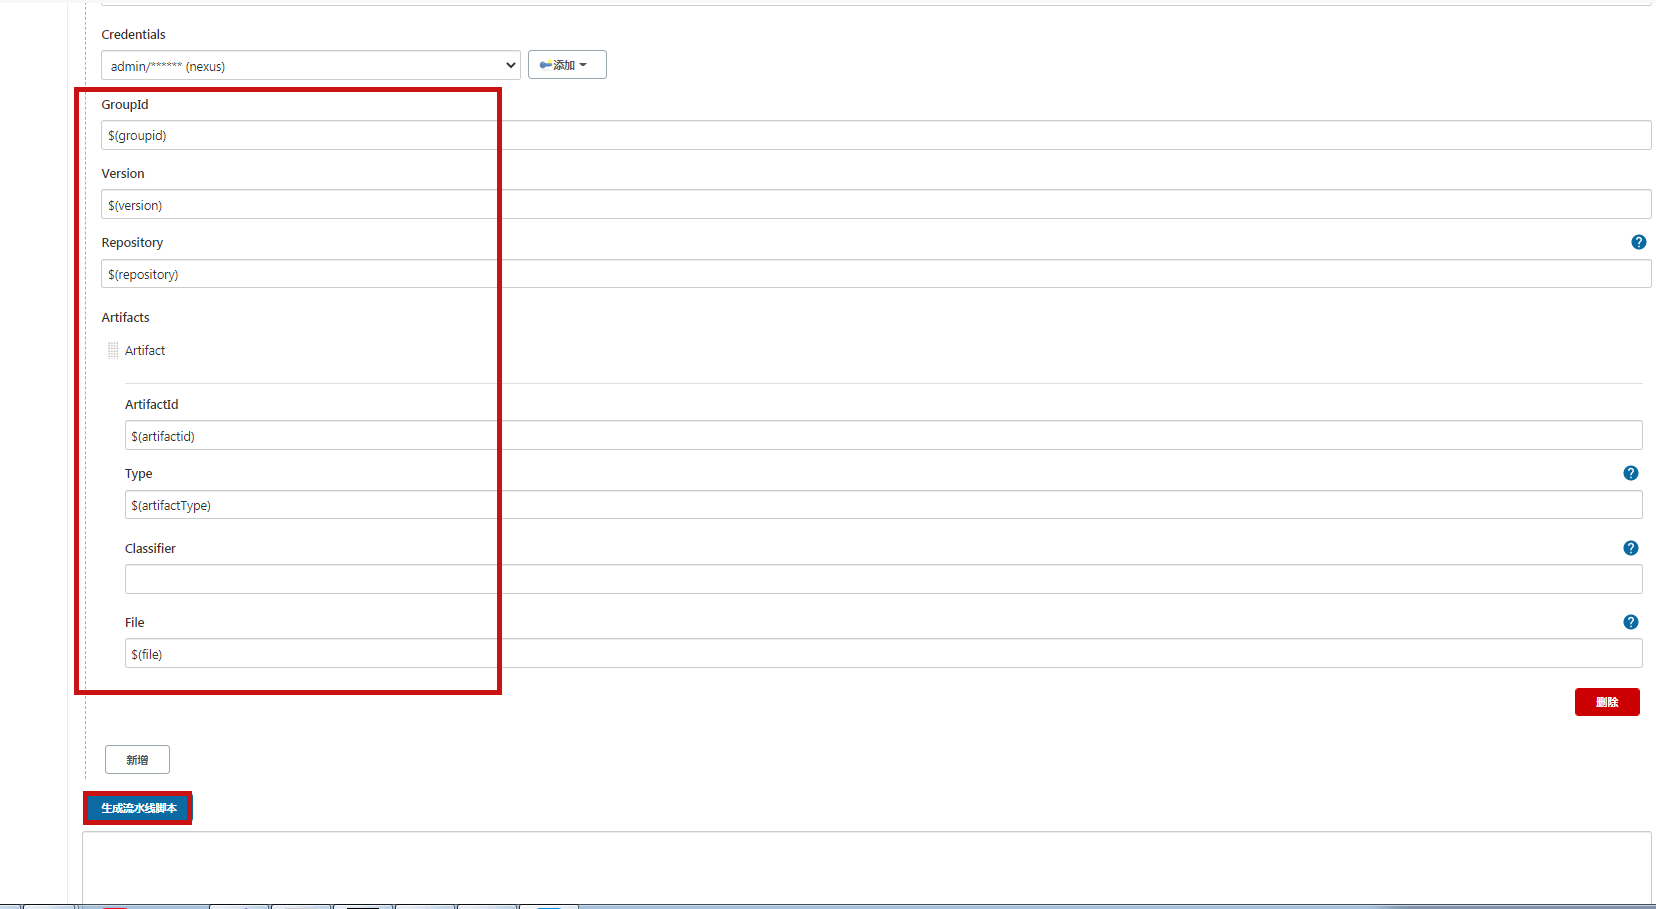
配置nexus artifact uploader插件

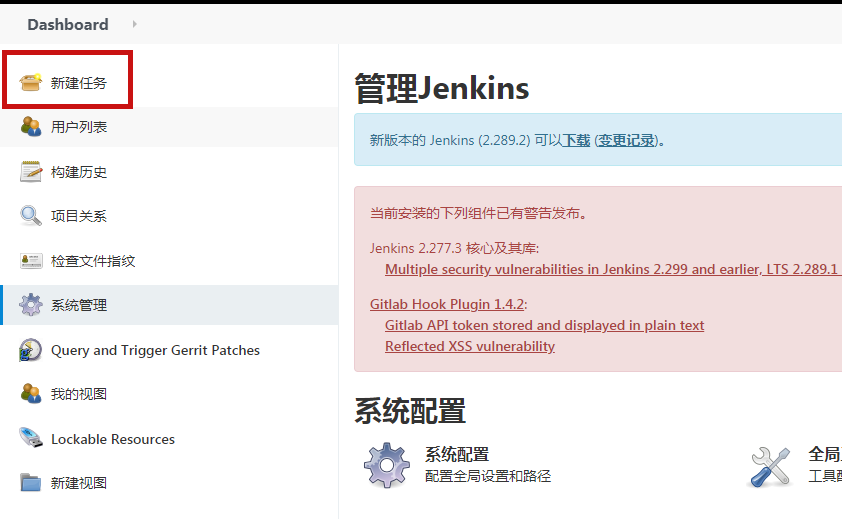
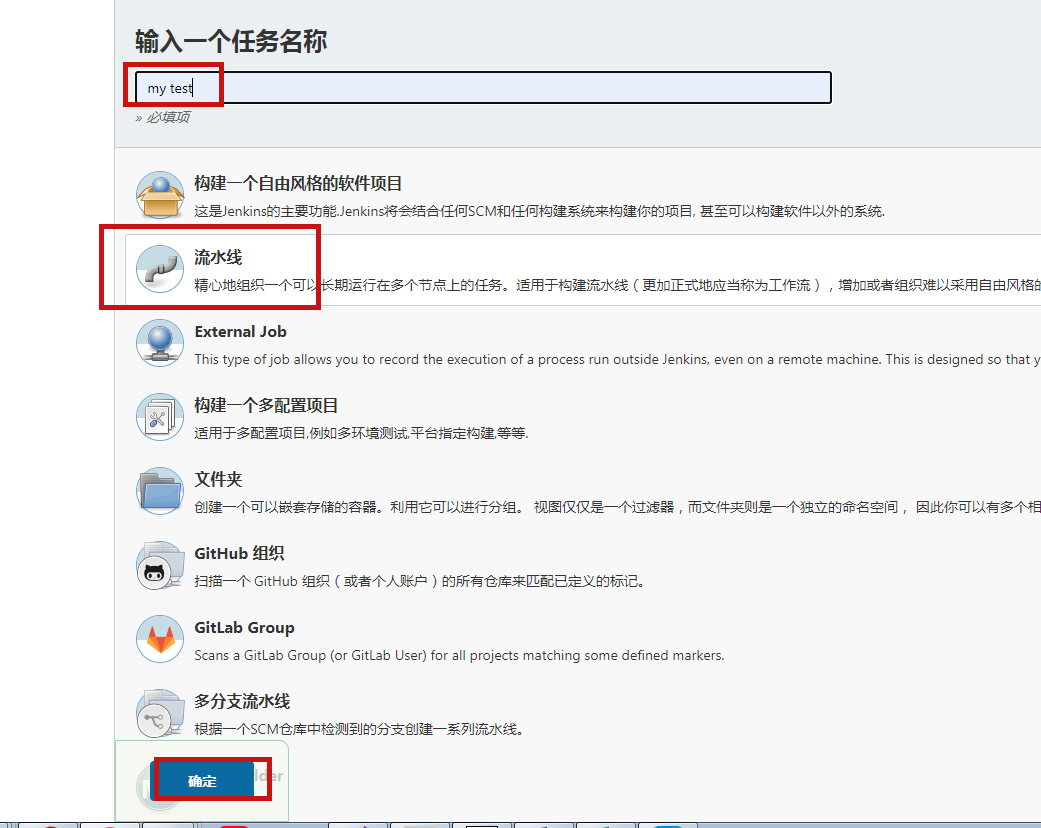
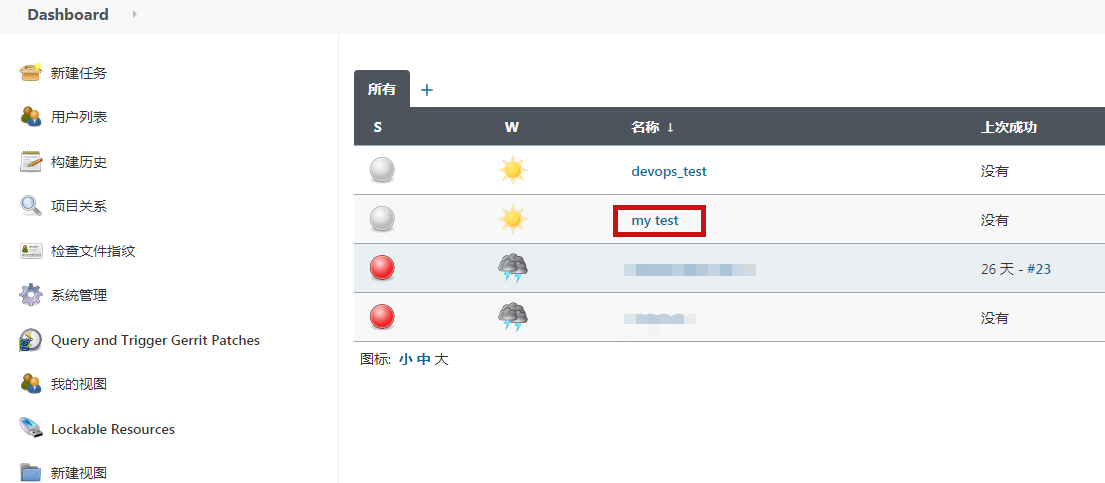
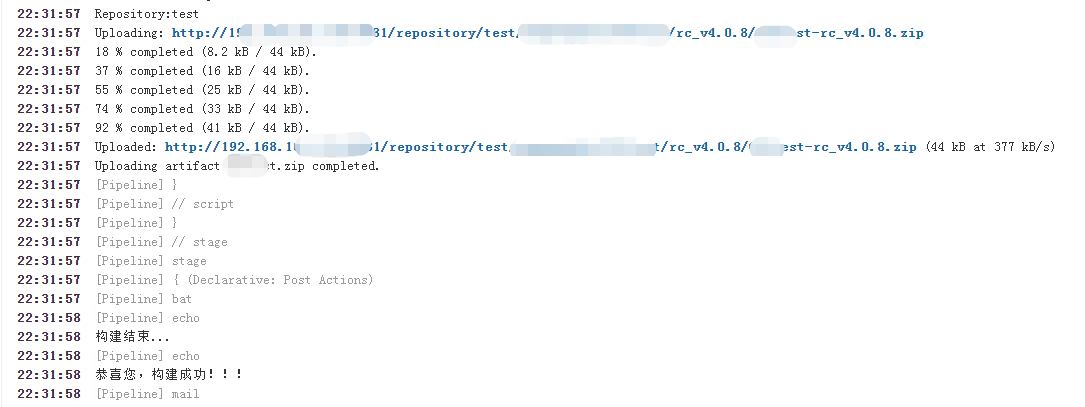
创建任务
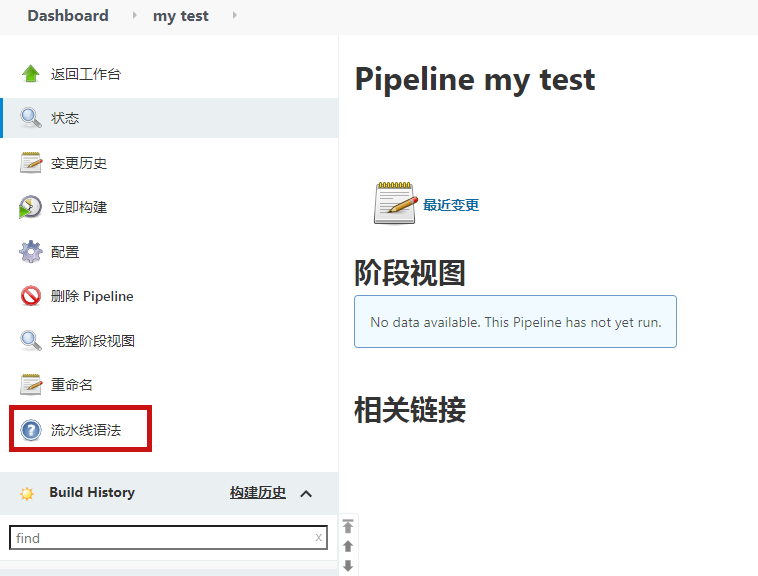
生成pipeline语法
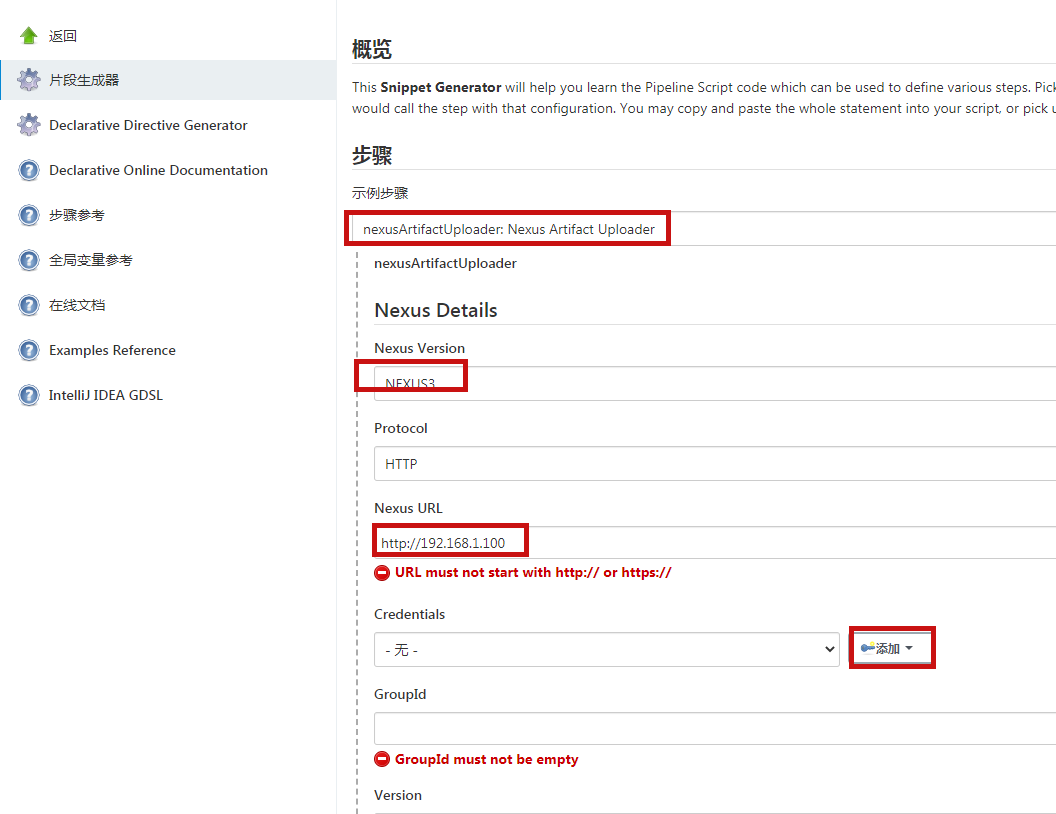


nexusArtifactUploader artifacts: [[artifactId: "${artifactid}",classifier: "",file: "${file}",type: "${artifactType}"]],credentialsId: "01c62a23-07a6-42c3-a1b4-7d1d61bb02c7",groupId: "${groupid}",nexusUrl: "192.168.101.132:8081",nexusVersion: "nexus3",protocol: "http",repository: "${repository}",version: "${version}"
注意代码生成器生成的变量是单引号需要改成双引号
pipeline
        stage('upload') {
            steps {
                script {
                    for(j in projectsjson.projects){
                        if (j.Nexus == "yes"){
                            repoID="$j.Nexus_Repo"
                            pkgName="${project_name}.zip"
                            pkgPath="$j.Build_PATH"

                            bat "cd $pkgPath && C:\\7-Zip\\7z.exe a ${pkgName} *"
                            nexusArtifactUploader artifacts: [[artifactId: "${project_name}",file: "$pkgPath/${pkgName}",type: ".zip"]],credentialsId: "54a0ea79-7938-4ba2-a44e-aff90xxxxx",groupId: "${group_name}",nexusUrl: "192.168.xxx.xxx:8081",repository: "${repoID}",version: "${tagname}"
                        }
                    }
                }
            }
        }
原文地址:https://www.cnblogs.com/cndevops
版权声明:本文内容由互联网用户自发贡献,该文观点与技术仅代表作者本人。本站仅提供信息存储空间服务,不拥有所有权,不承担相关法律责任。如发现本站有涉嫌侵权/违法违规的内容, 请发送邮件至 dio@foxmail.com 举报,一经查实,本站将立刻删除。